Create an on-chain subscription plan, publish it, and share it so customers can subscribe and pay you automatically every period.
Recurring billing lets you charge customers on a repeating schedule — daily, weekly, monthly, or yearly — directly on-chain. You create a plan, publish it, and share a link. Your customer approves once in their wallet, and each period the amount settles straight to your payee wallet. You stay in control of the funds the whole way.
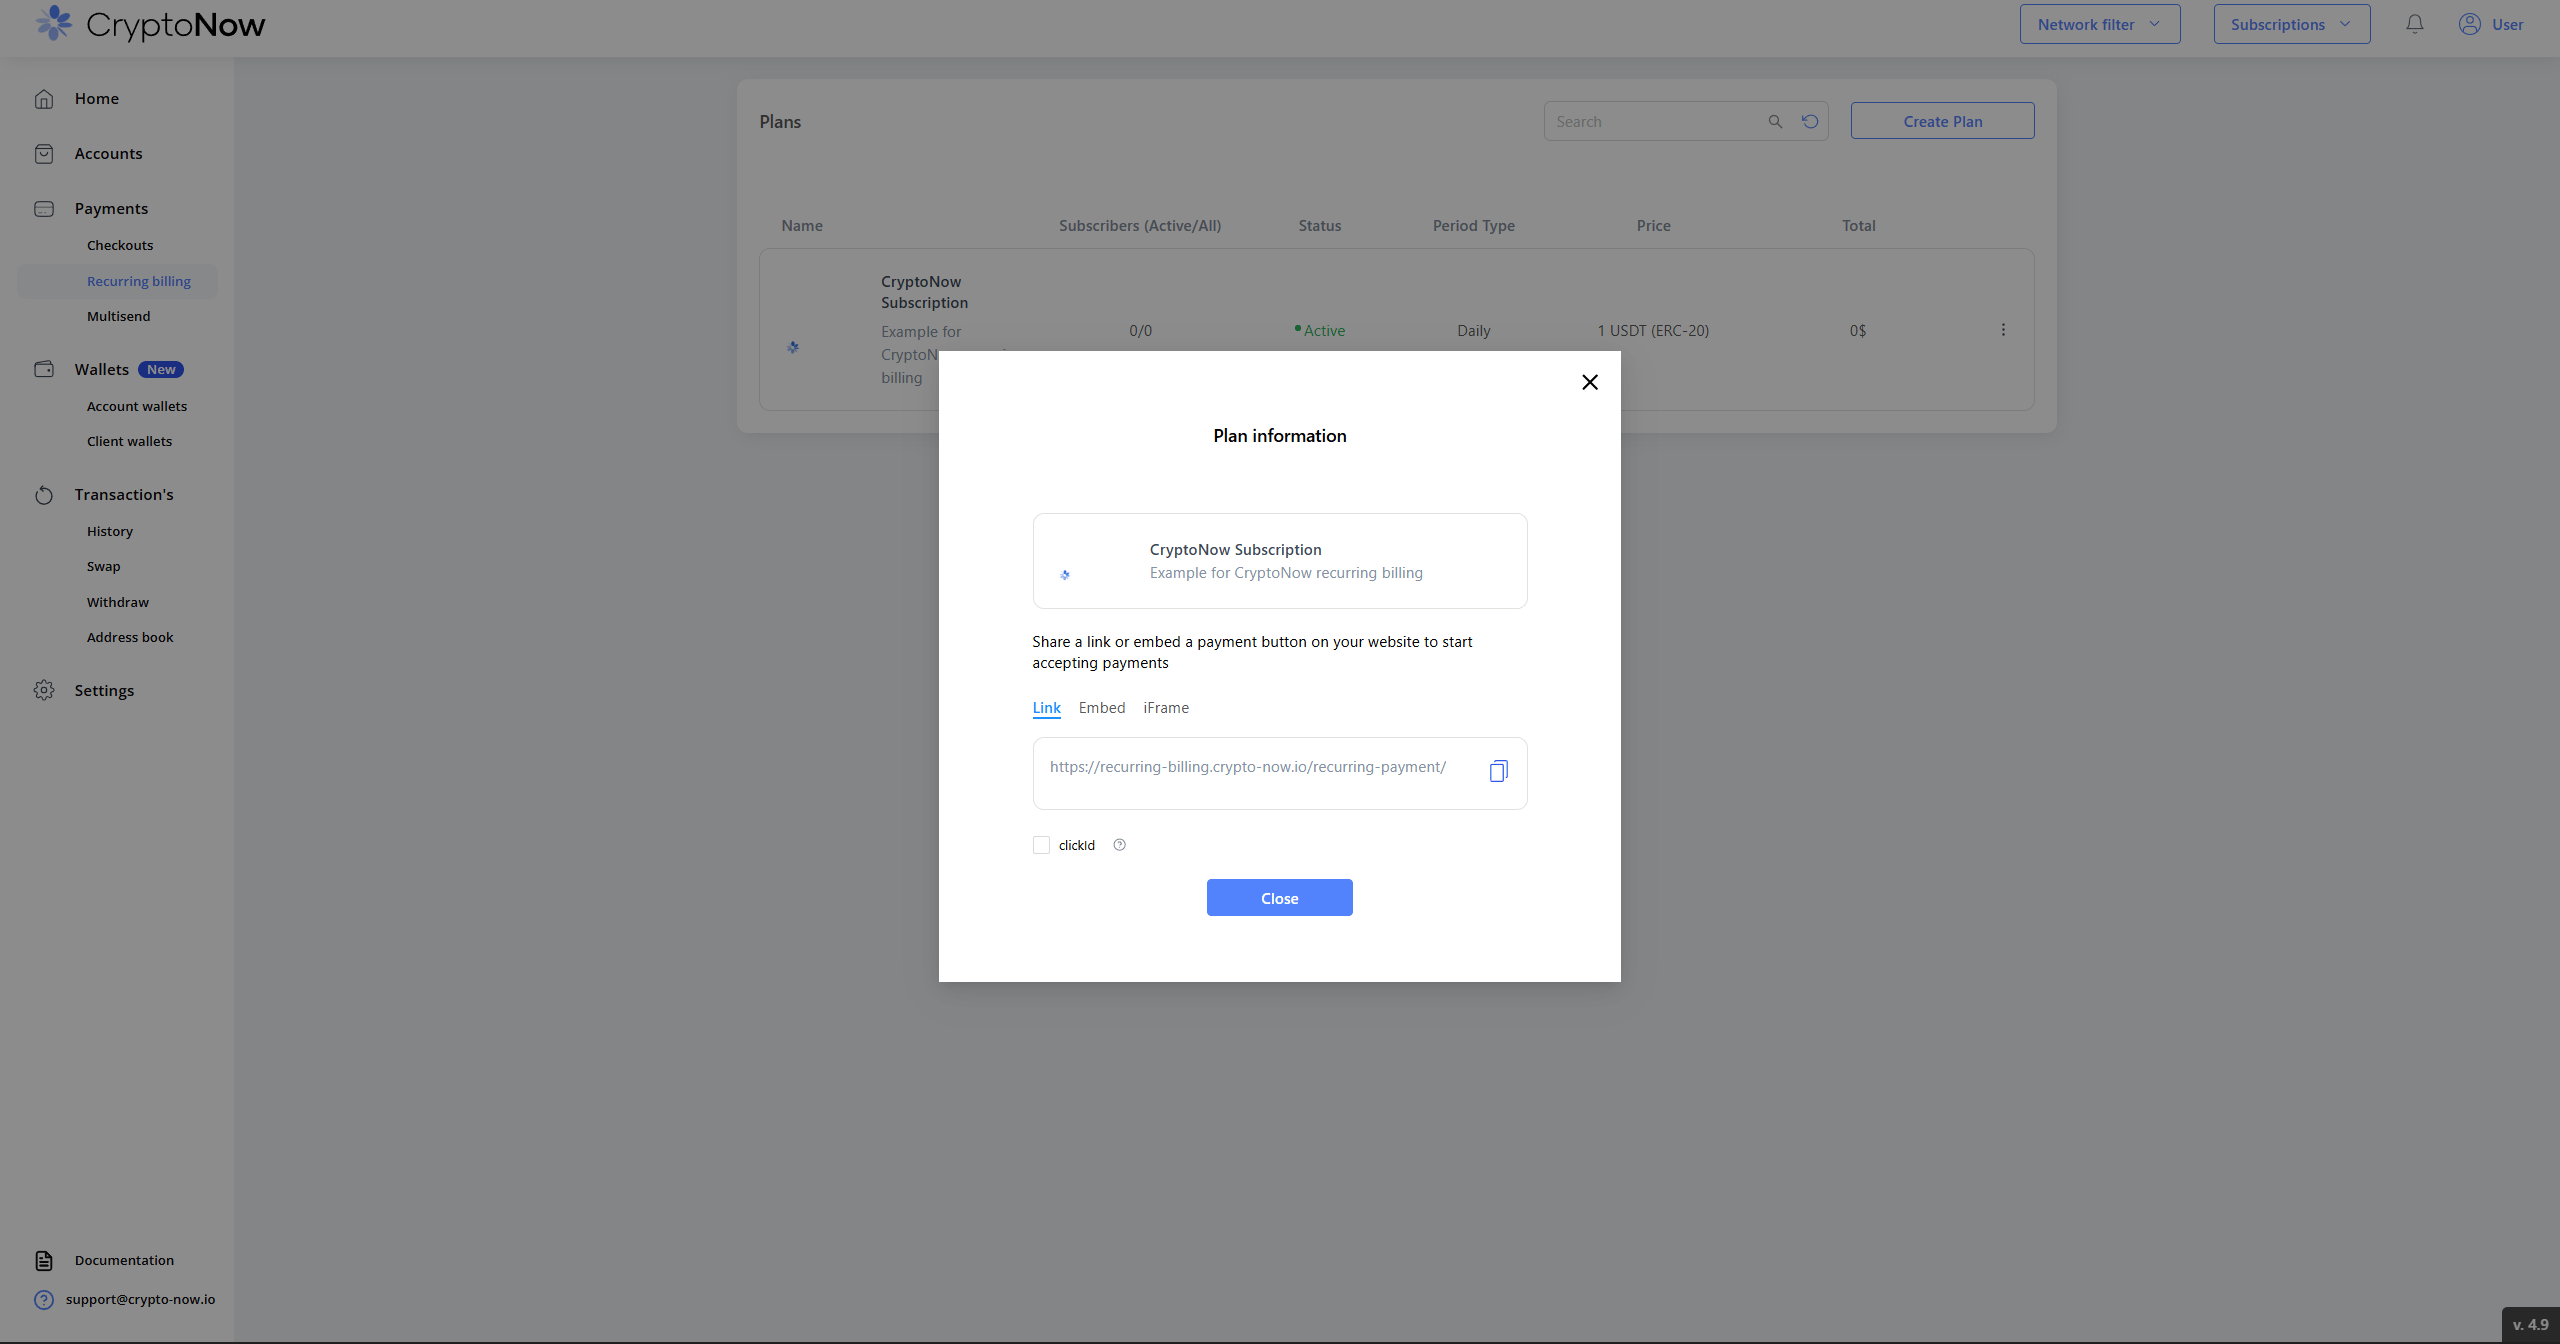
A subscription plan lives on-chain. Once published, the plan can accept subscribers immediately through its link, embed button, or iframe.
A payee wallet — the address that receives each payment.
An owner wallet with a little native coin (ETH, BNB, etc.) to cover the one-time publish fee. The owner wallet is the one that publishes the plan on-chain.
Your plan basics decided: the token and network, the price, and the billing period.
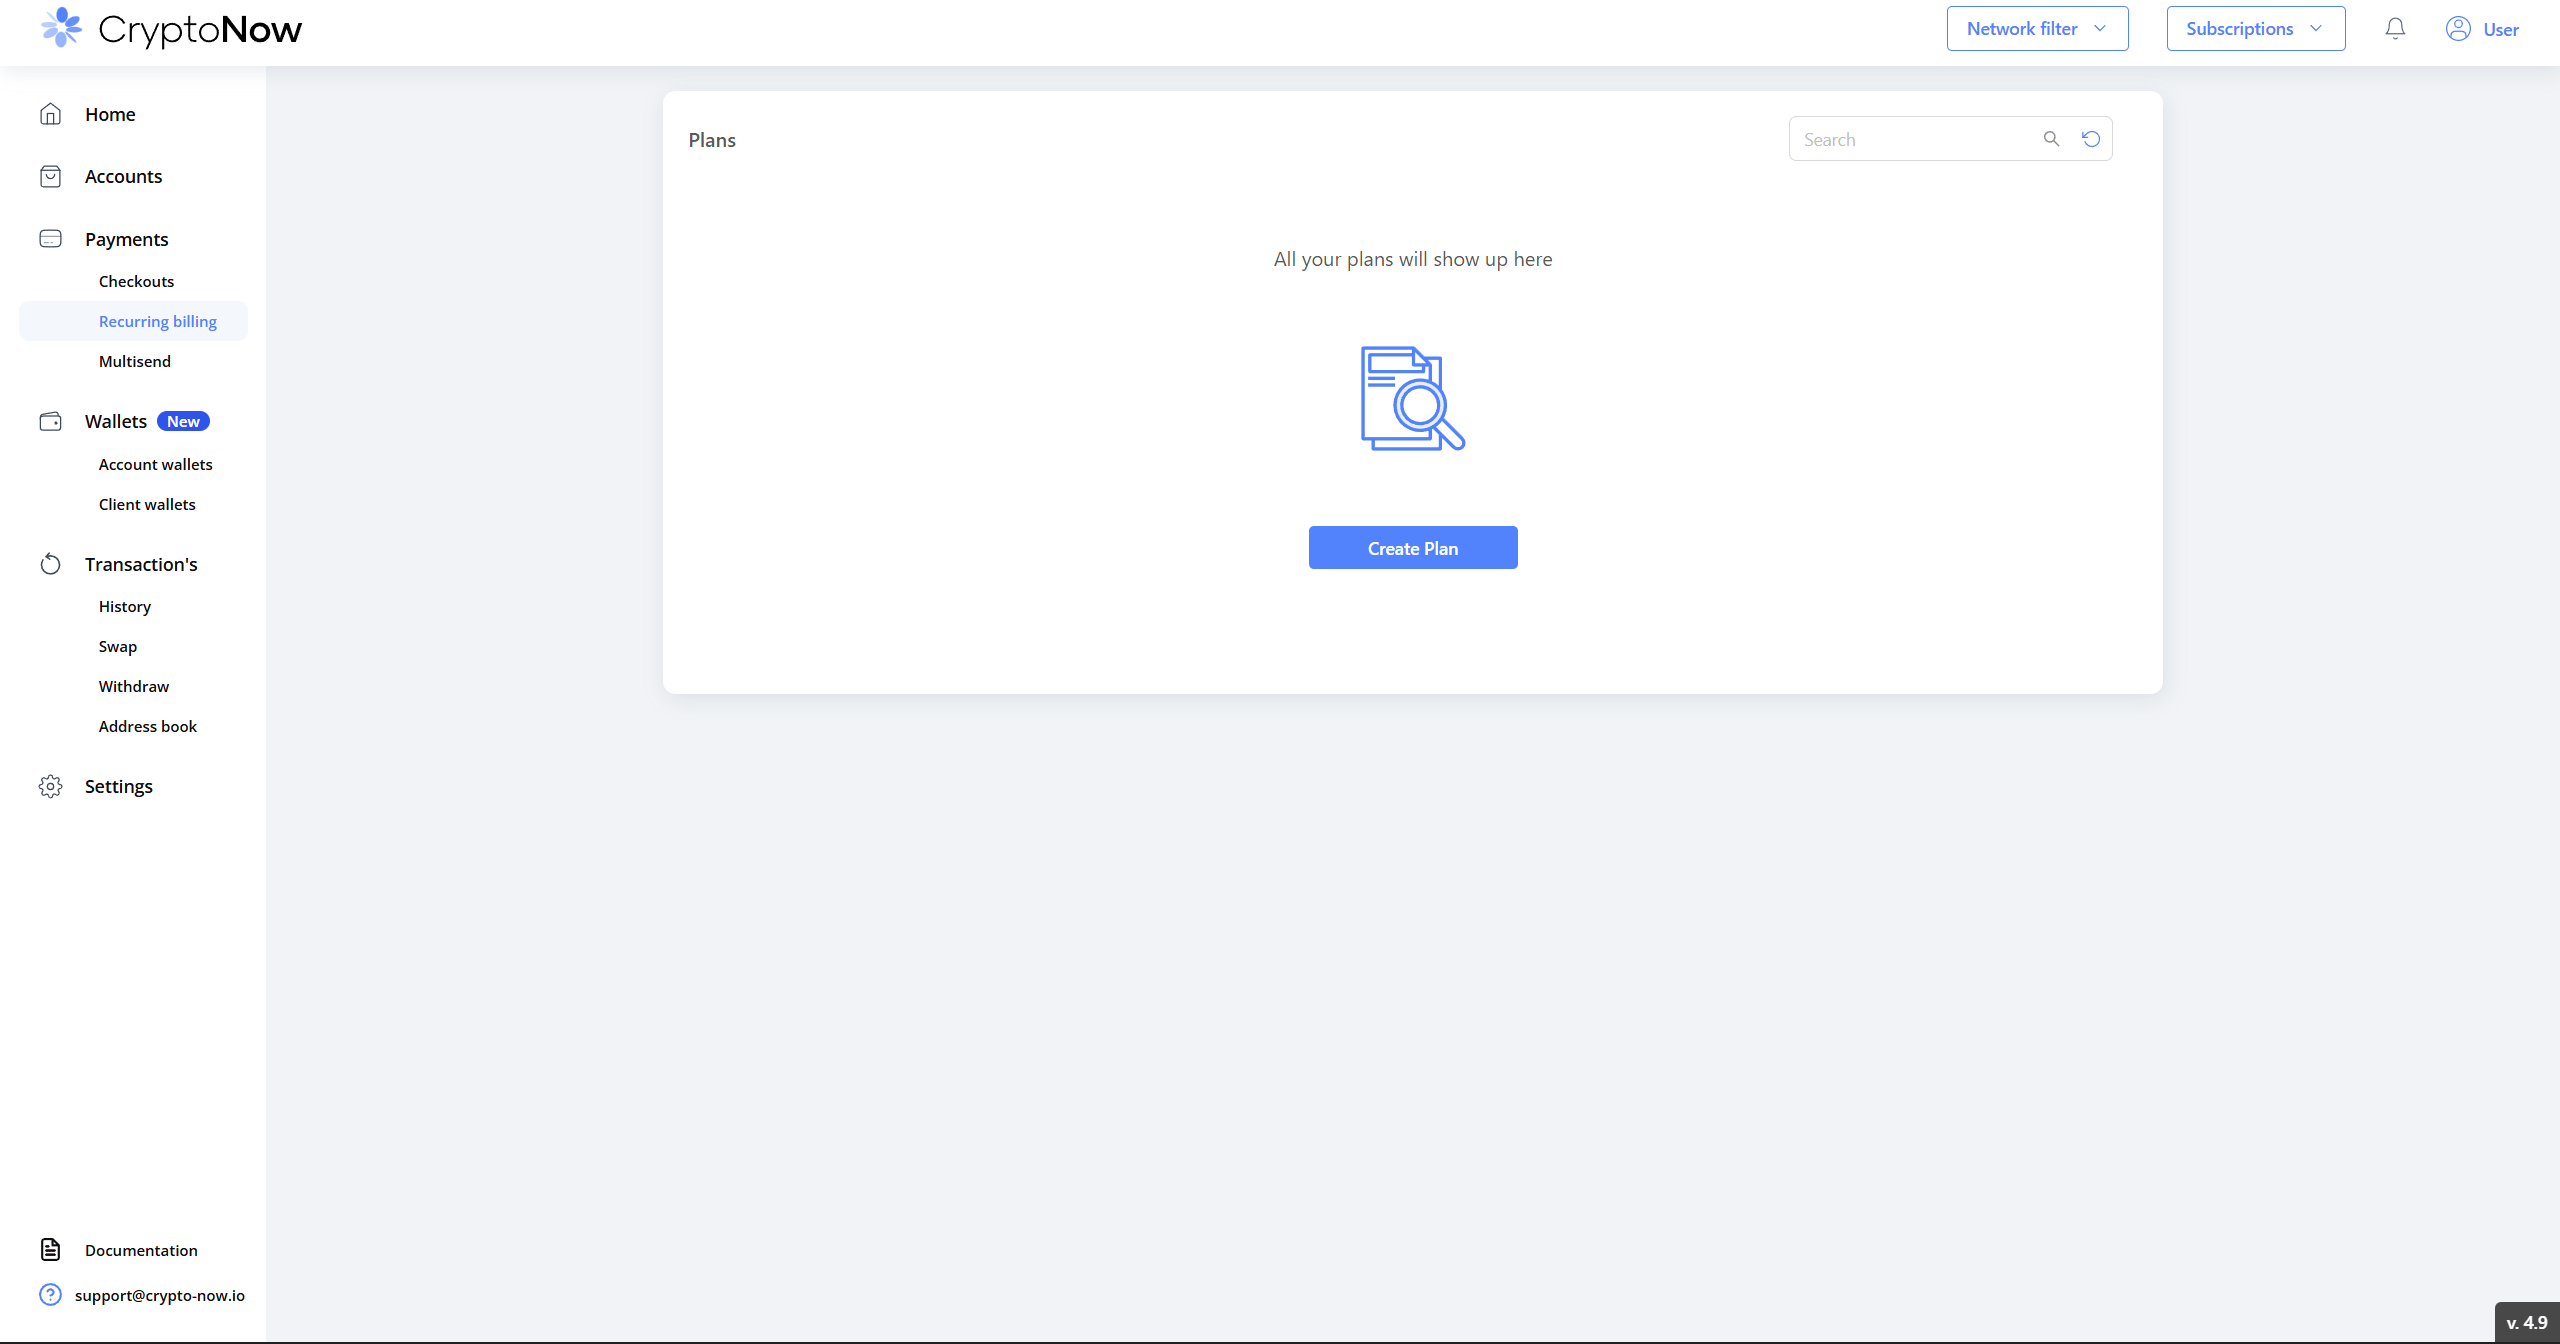
In the dashboard, go to Payments → Recurring billing, then select Create Plan.
The Recurring billing page, before any plans exist.
2
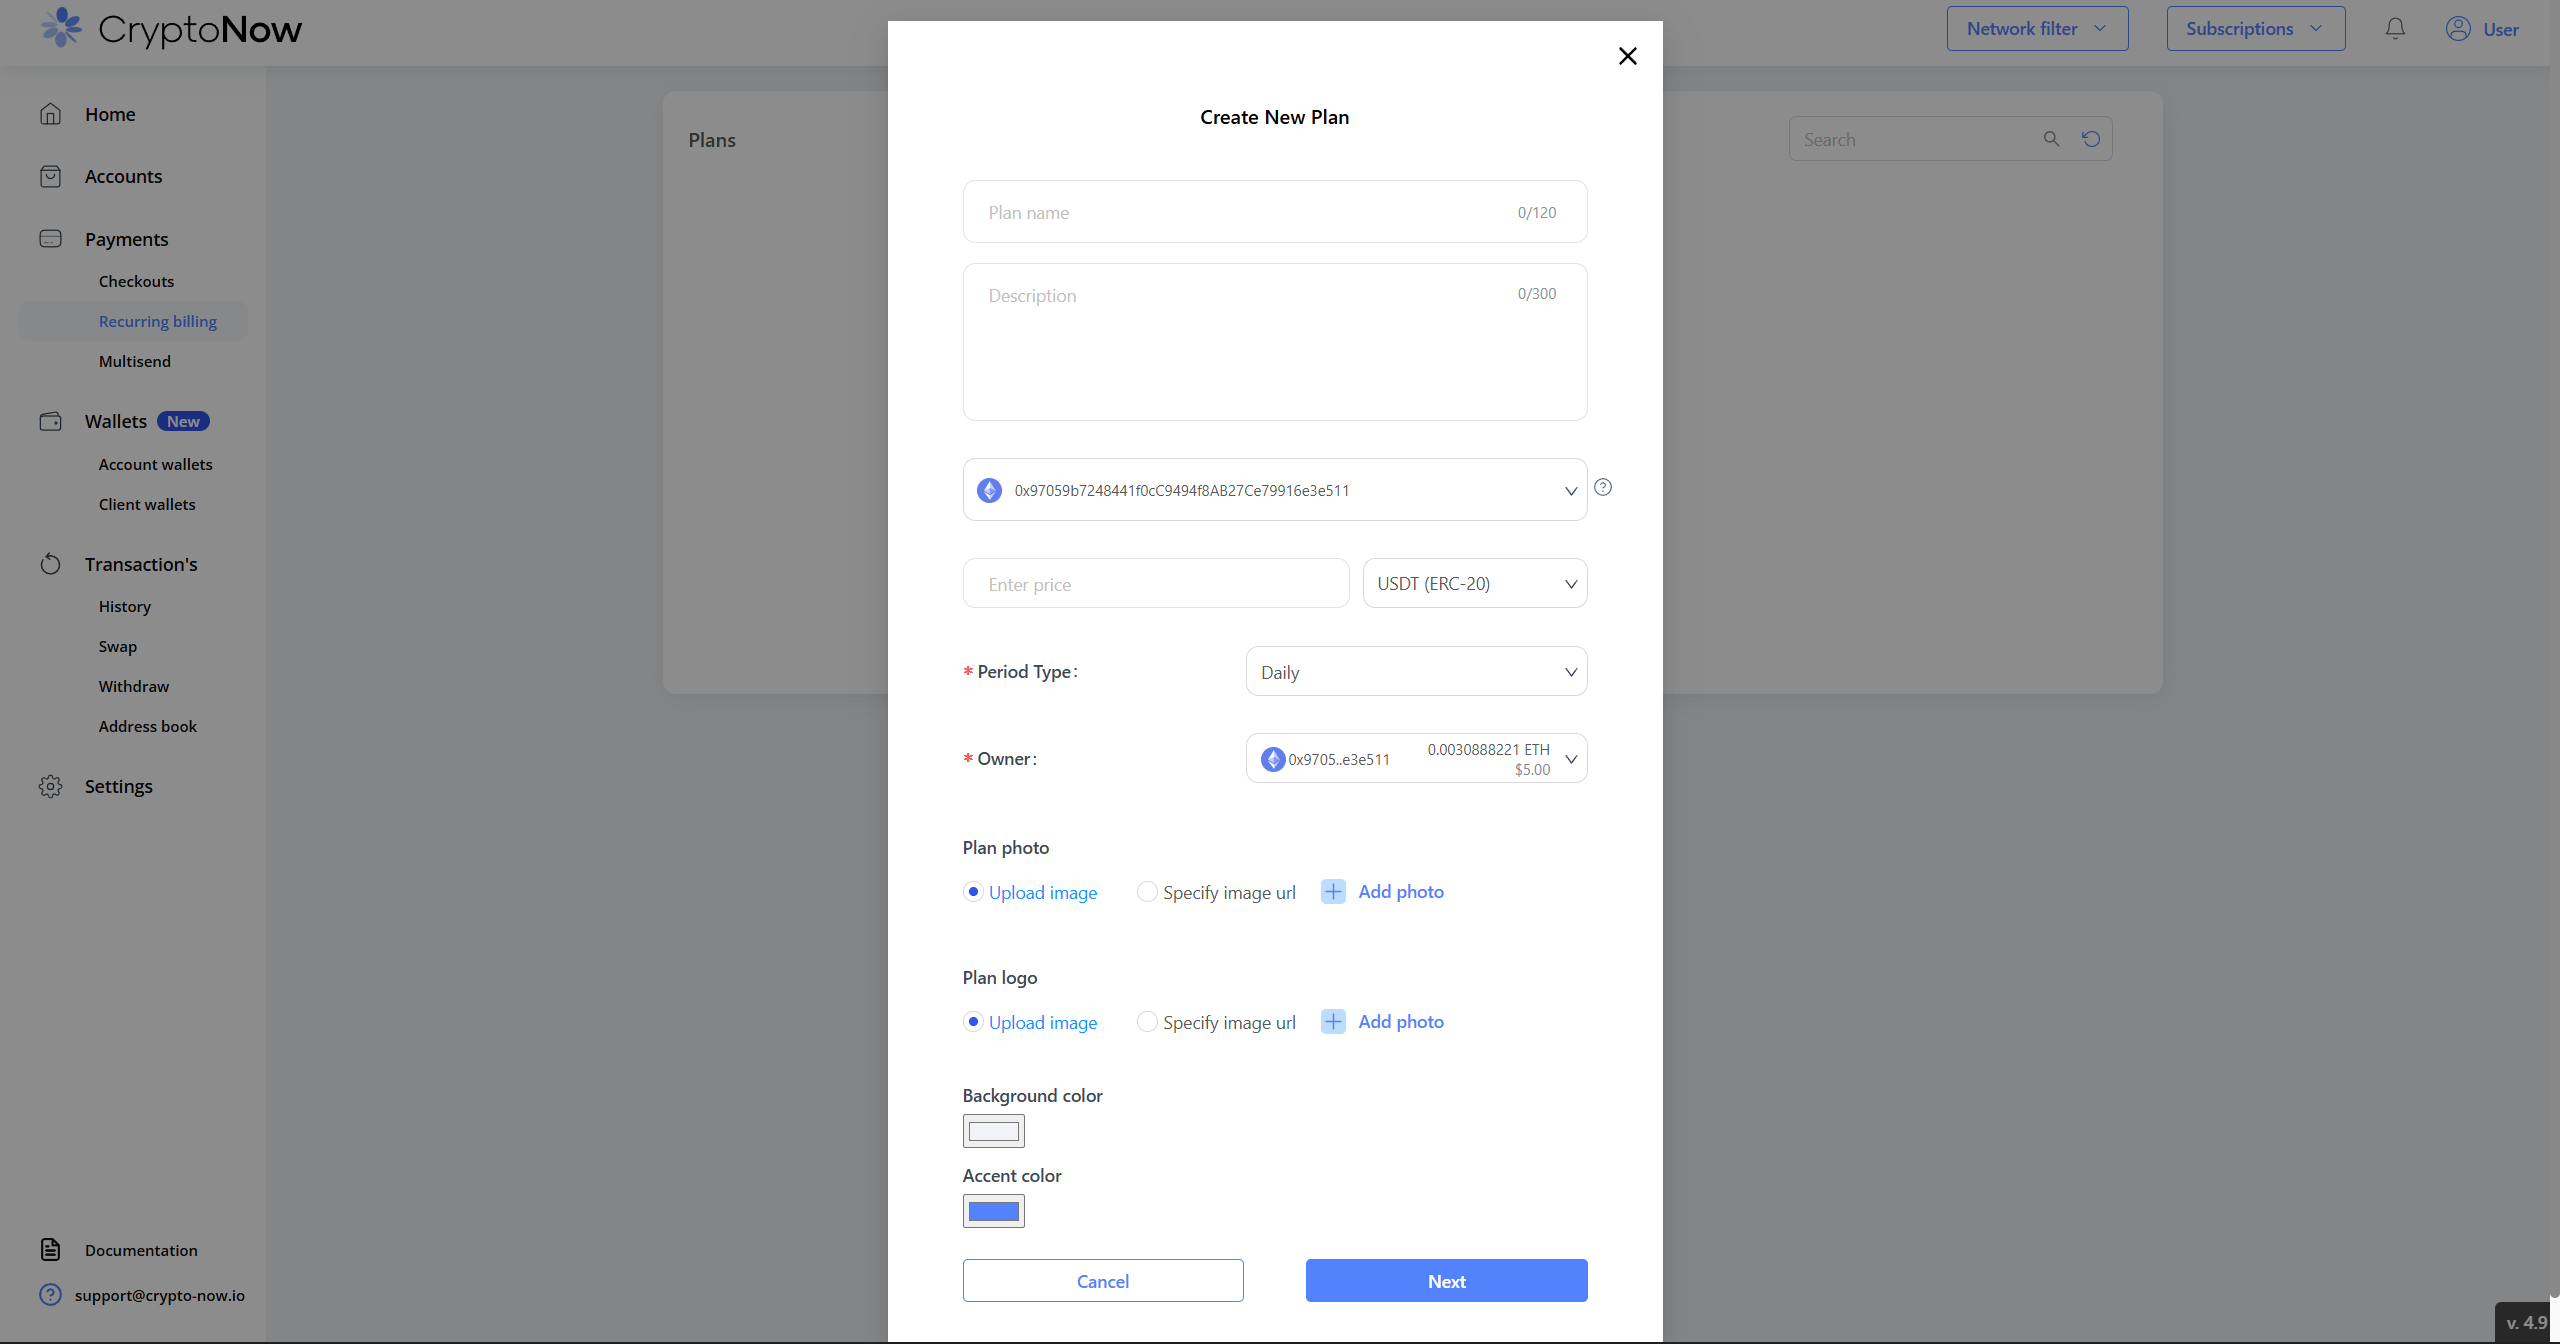
Enter the plan details
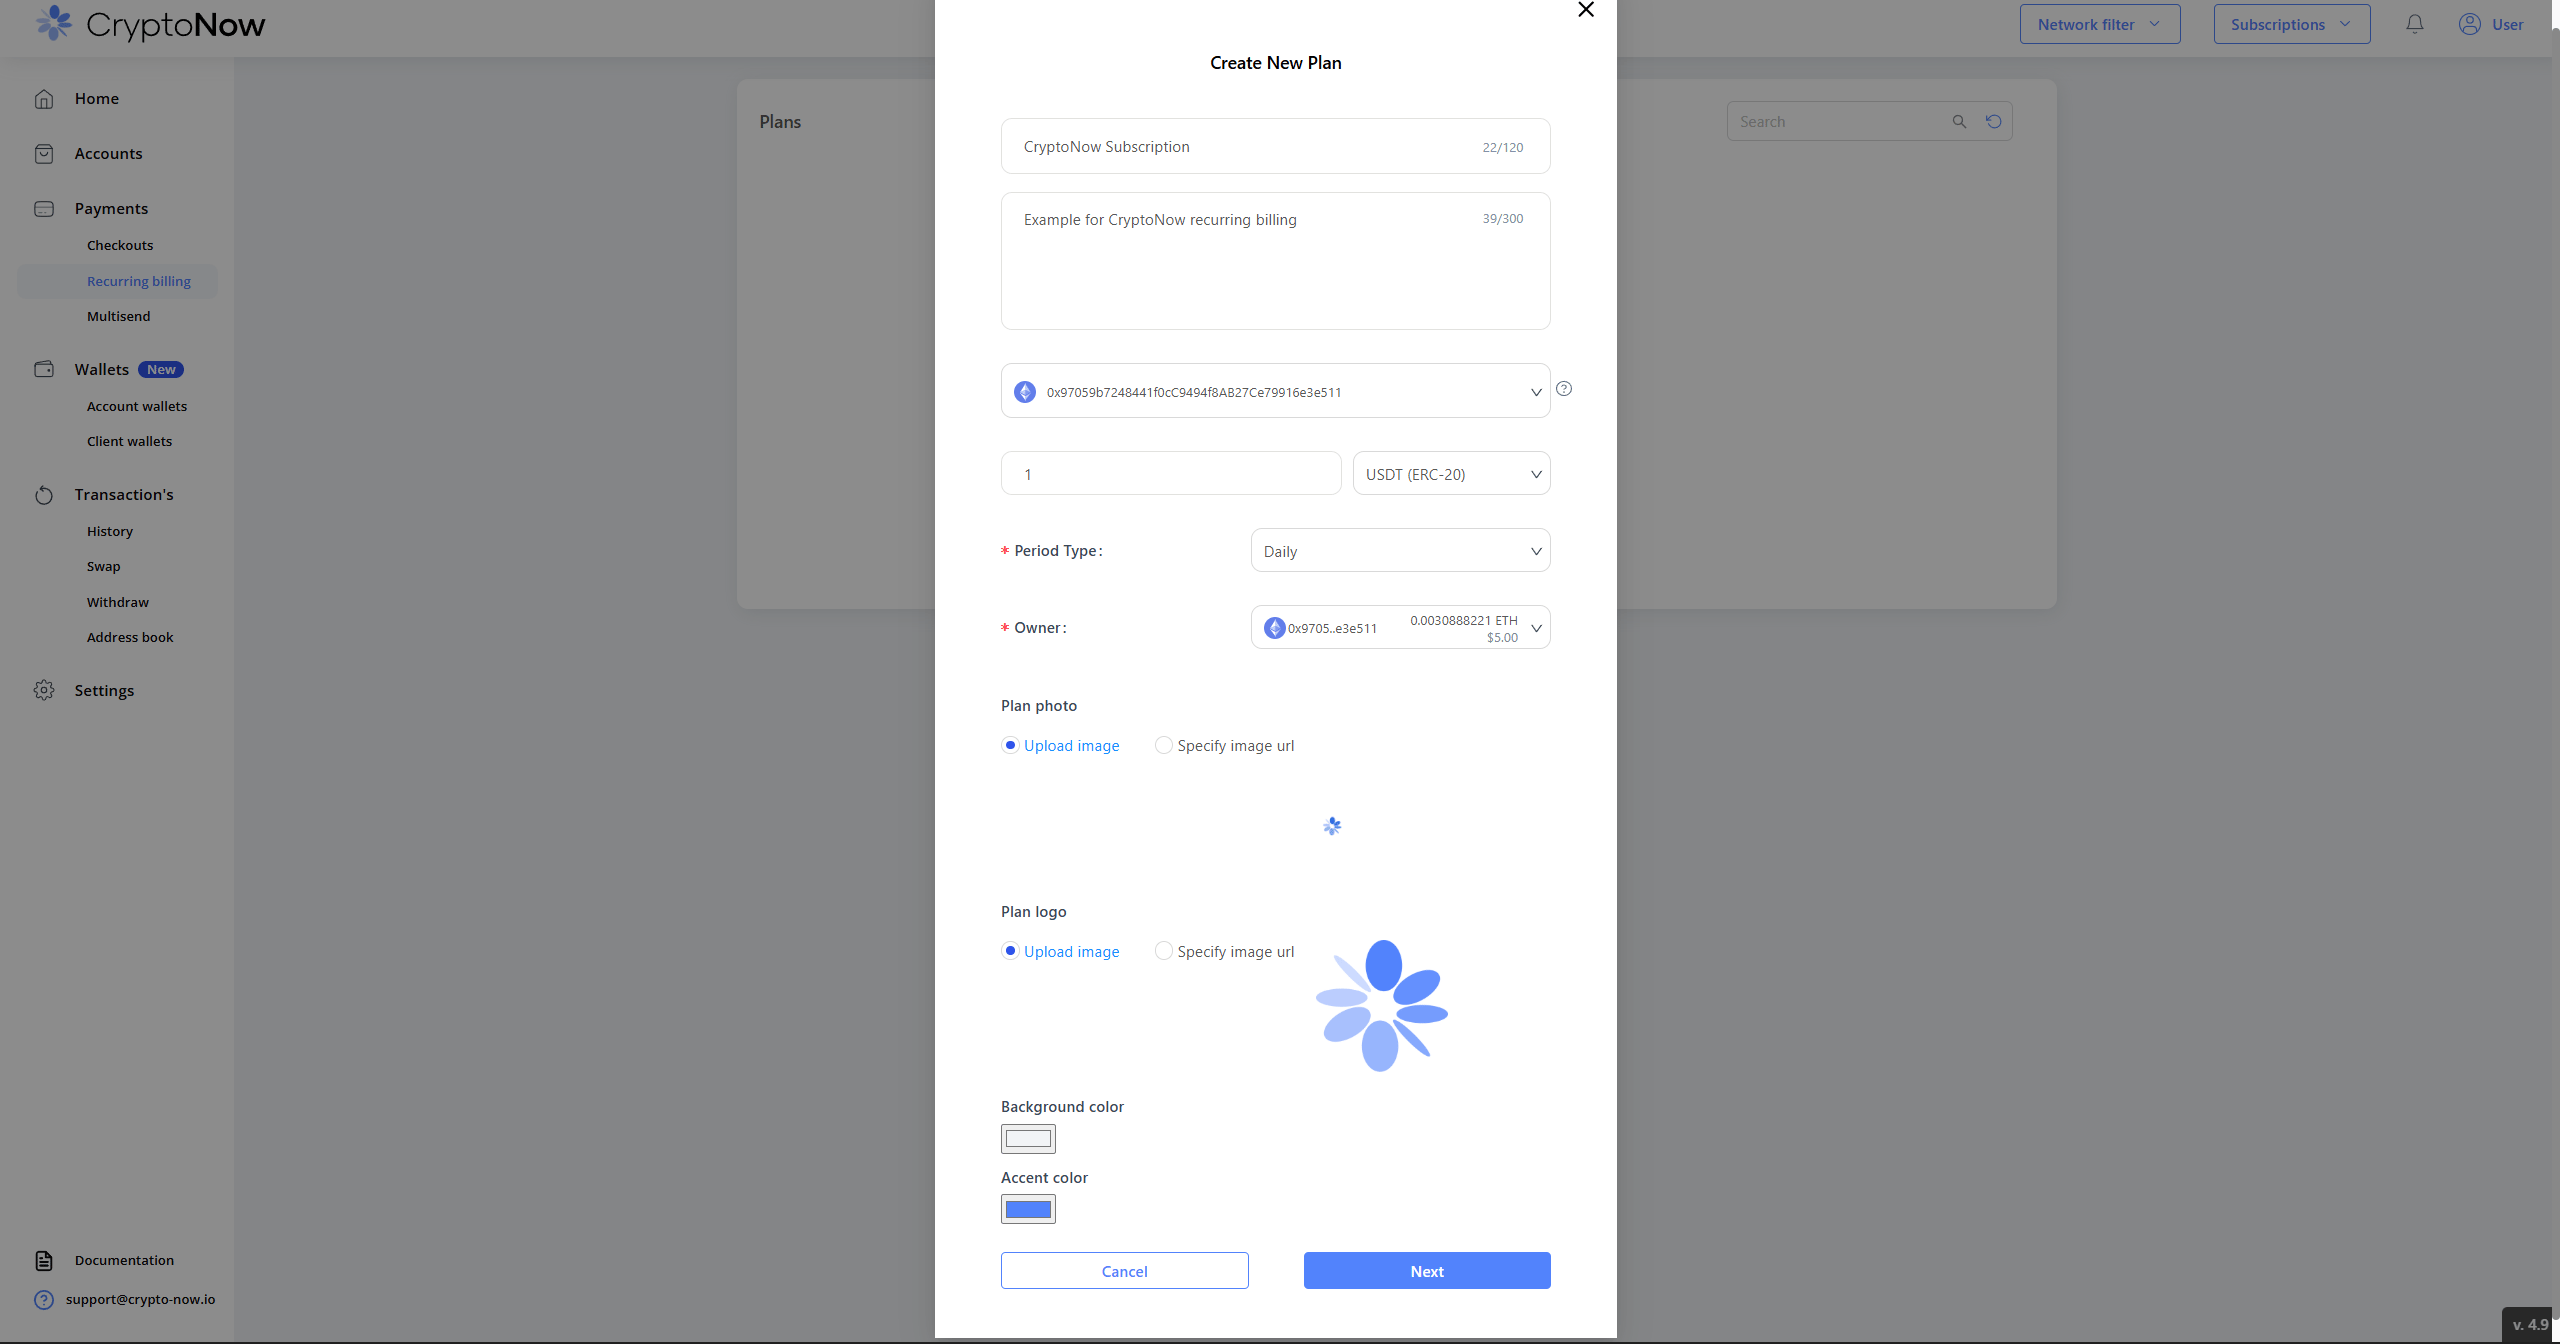
Give the plan a name and description, choose the payee address that will receive payments, then set the price and the token / network.
The Create New Plan form.
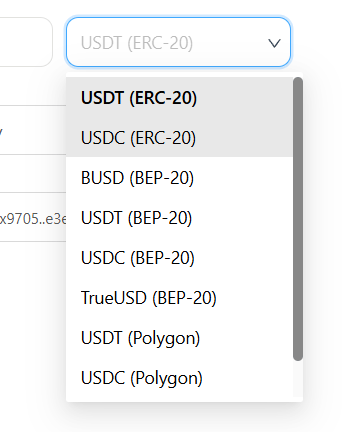
Subscriptions are billed in stablecoins on the supported networks:
Token and network options for a plan.
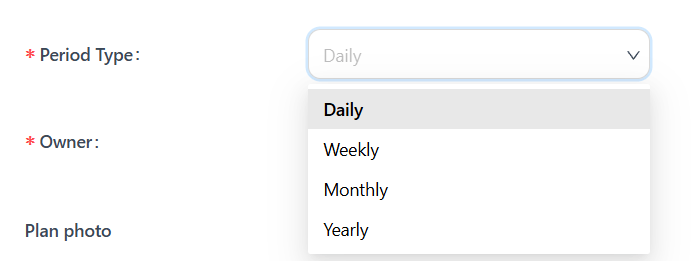
Pick how often the customer is charged under Period Type:
Billing period options: Daily, Weekly, Monthly, Yearly.
Finally, choose the owner wallet (this publishes the plan and pays the small publish fee). You can optionally add a plan photo, logo, and brand colours.
A completed plan, ready to publish.
3
Publish the plan on-chain
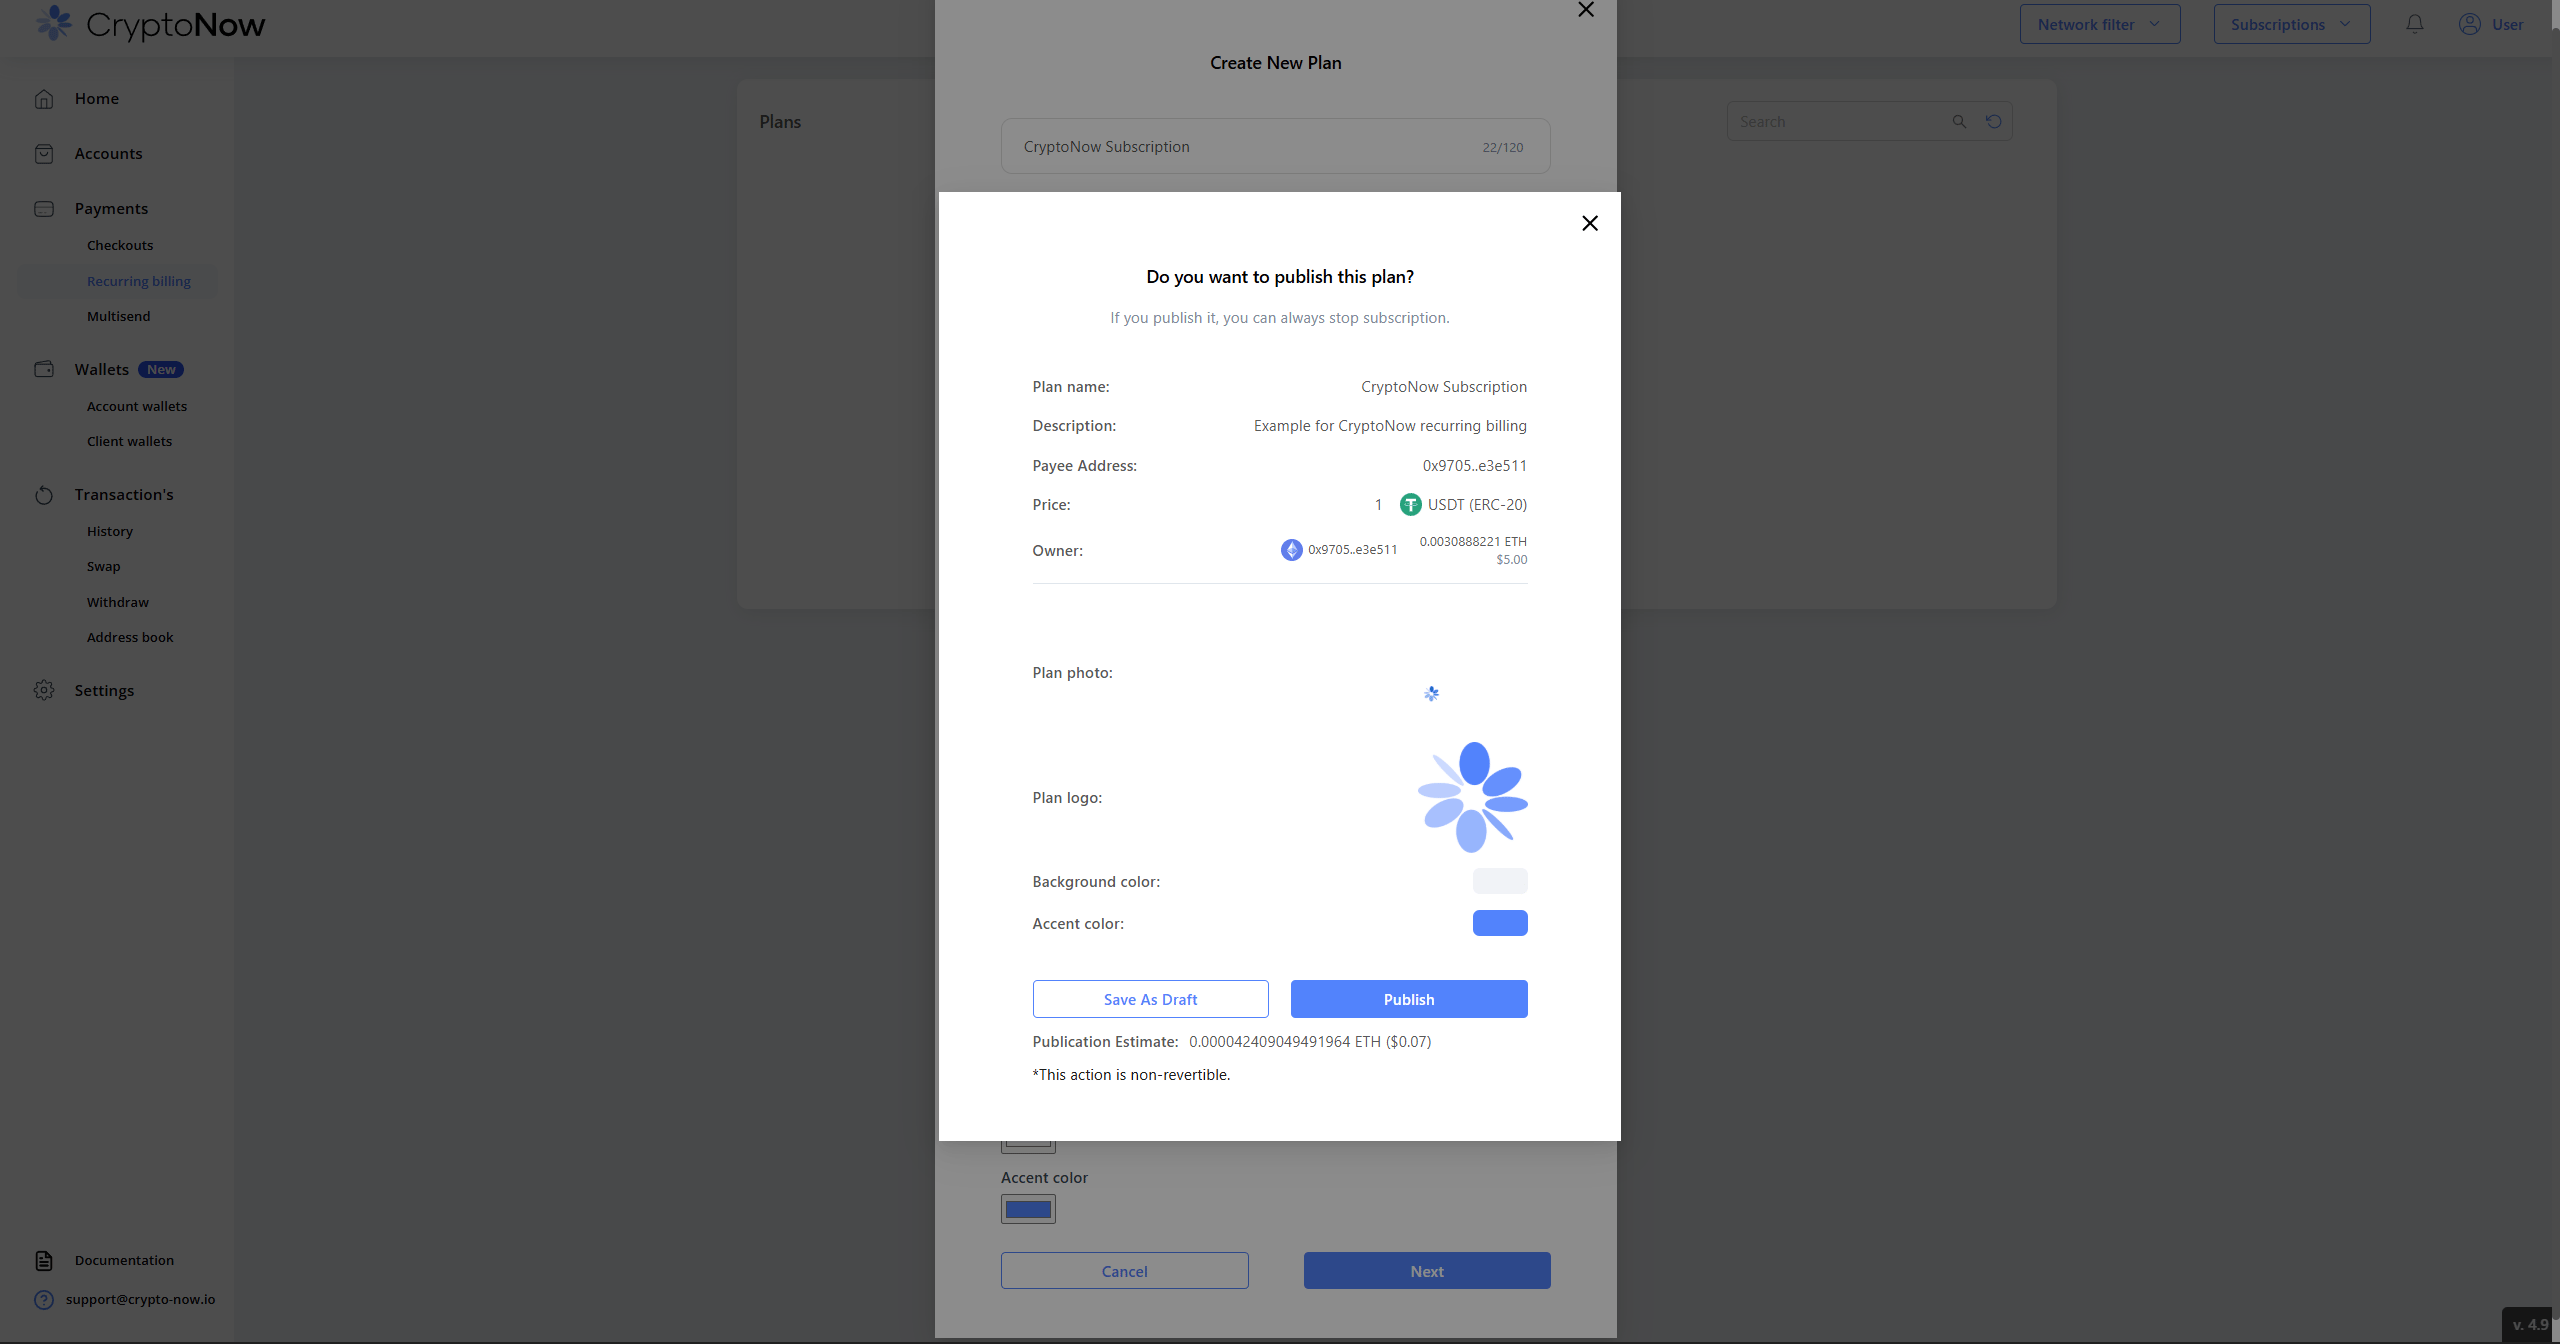
Select Next to review. Publishing costs a small network fee, shown as an estimate before you confirm. Choose Save as Draft to keep it off-chain for now, or Publish to make it live.
Publishing is non-revertible — the plan is written on-chain. You can still deactivate or stop subscriptions later, but the published plan itself can’t be undone.
The publish confirmation, with the network-fee estimate.
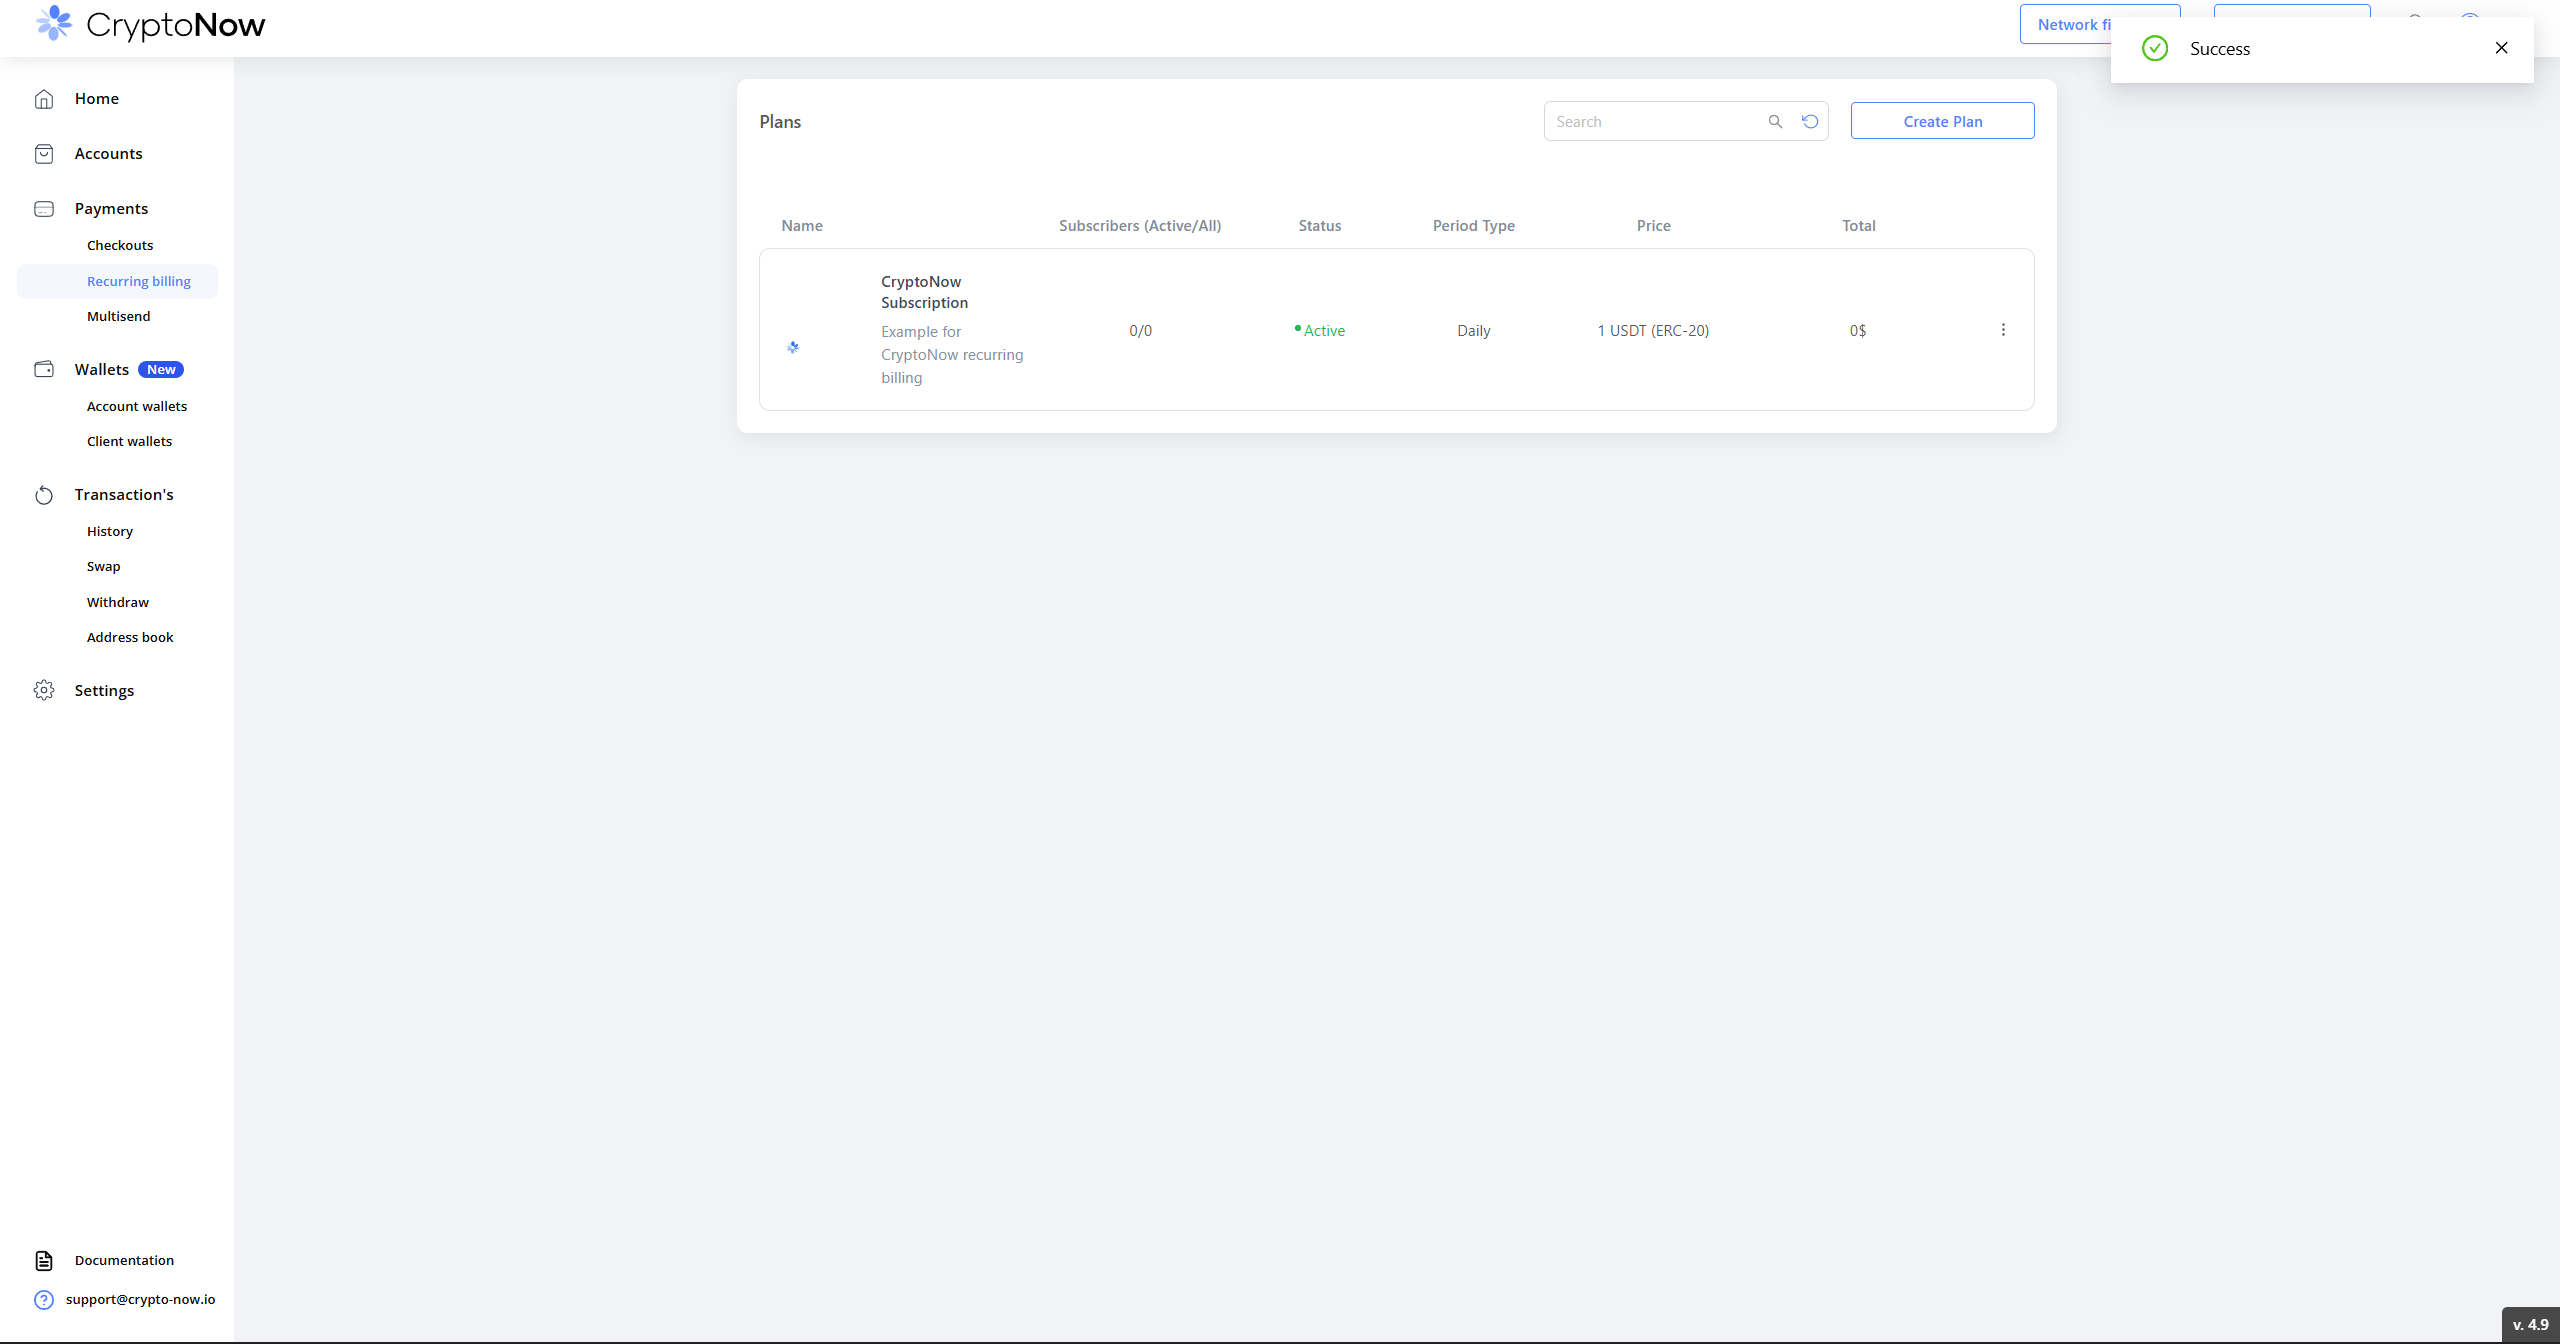
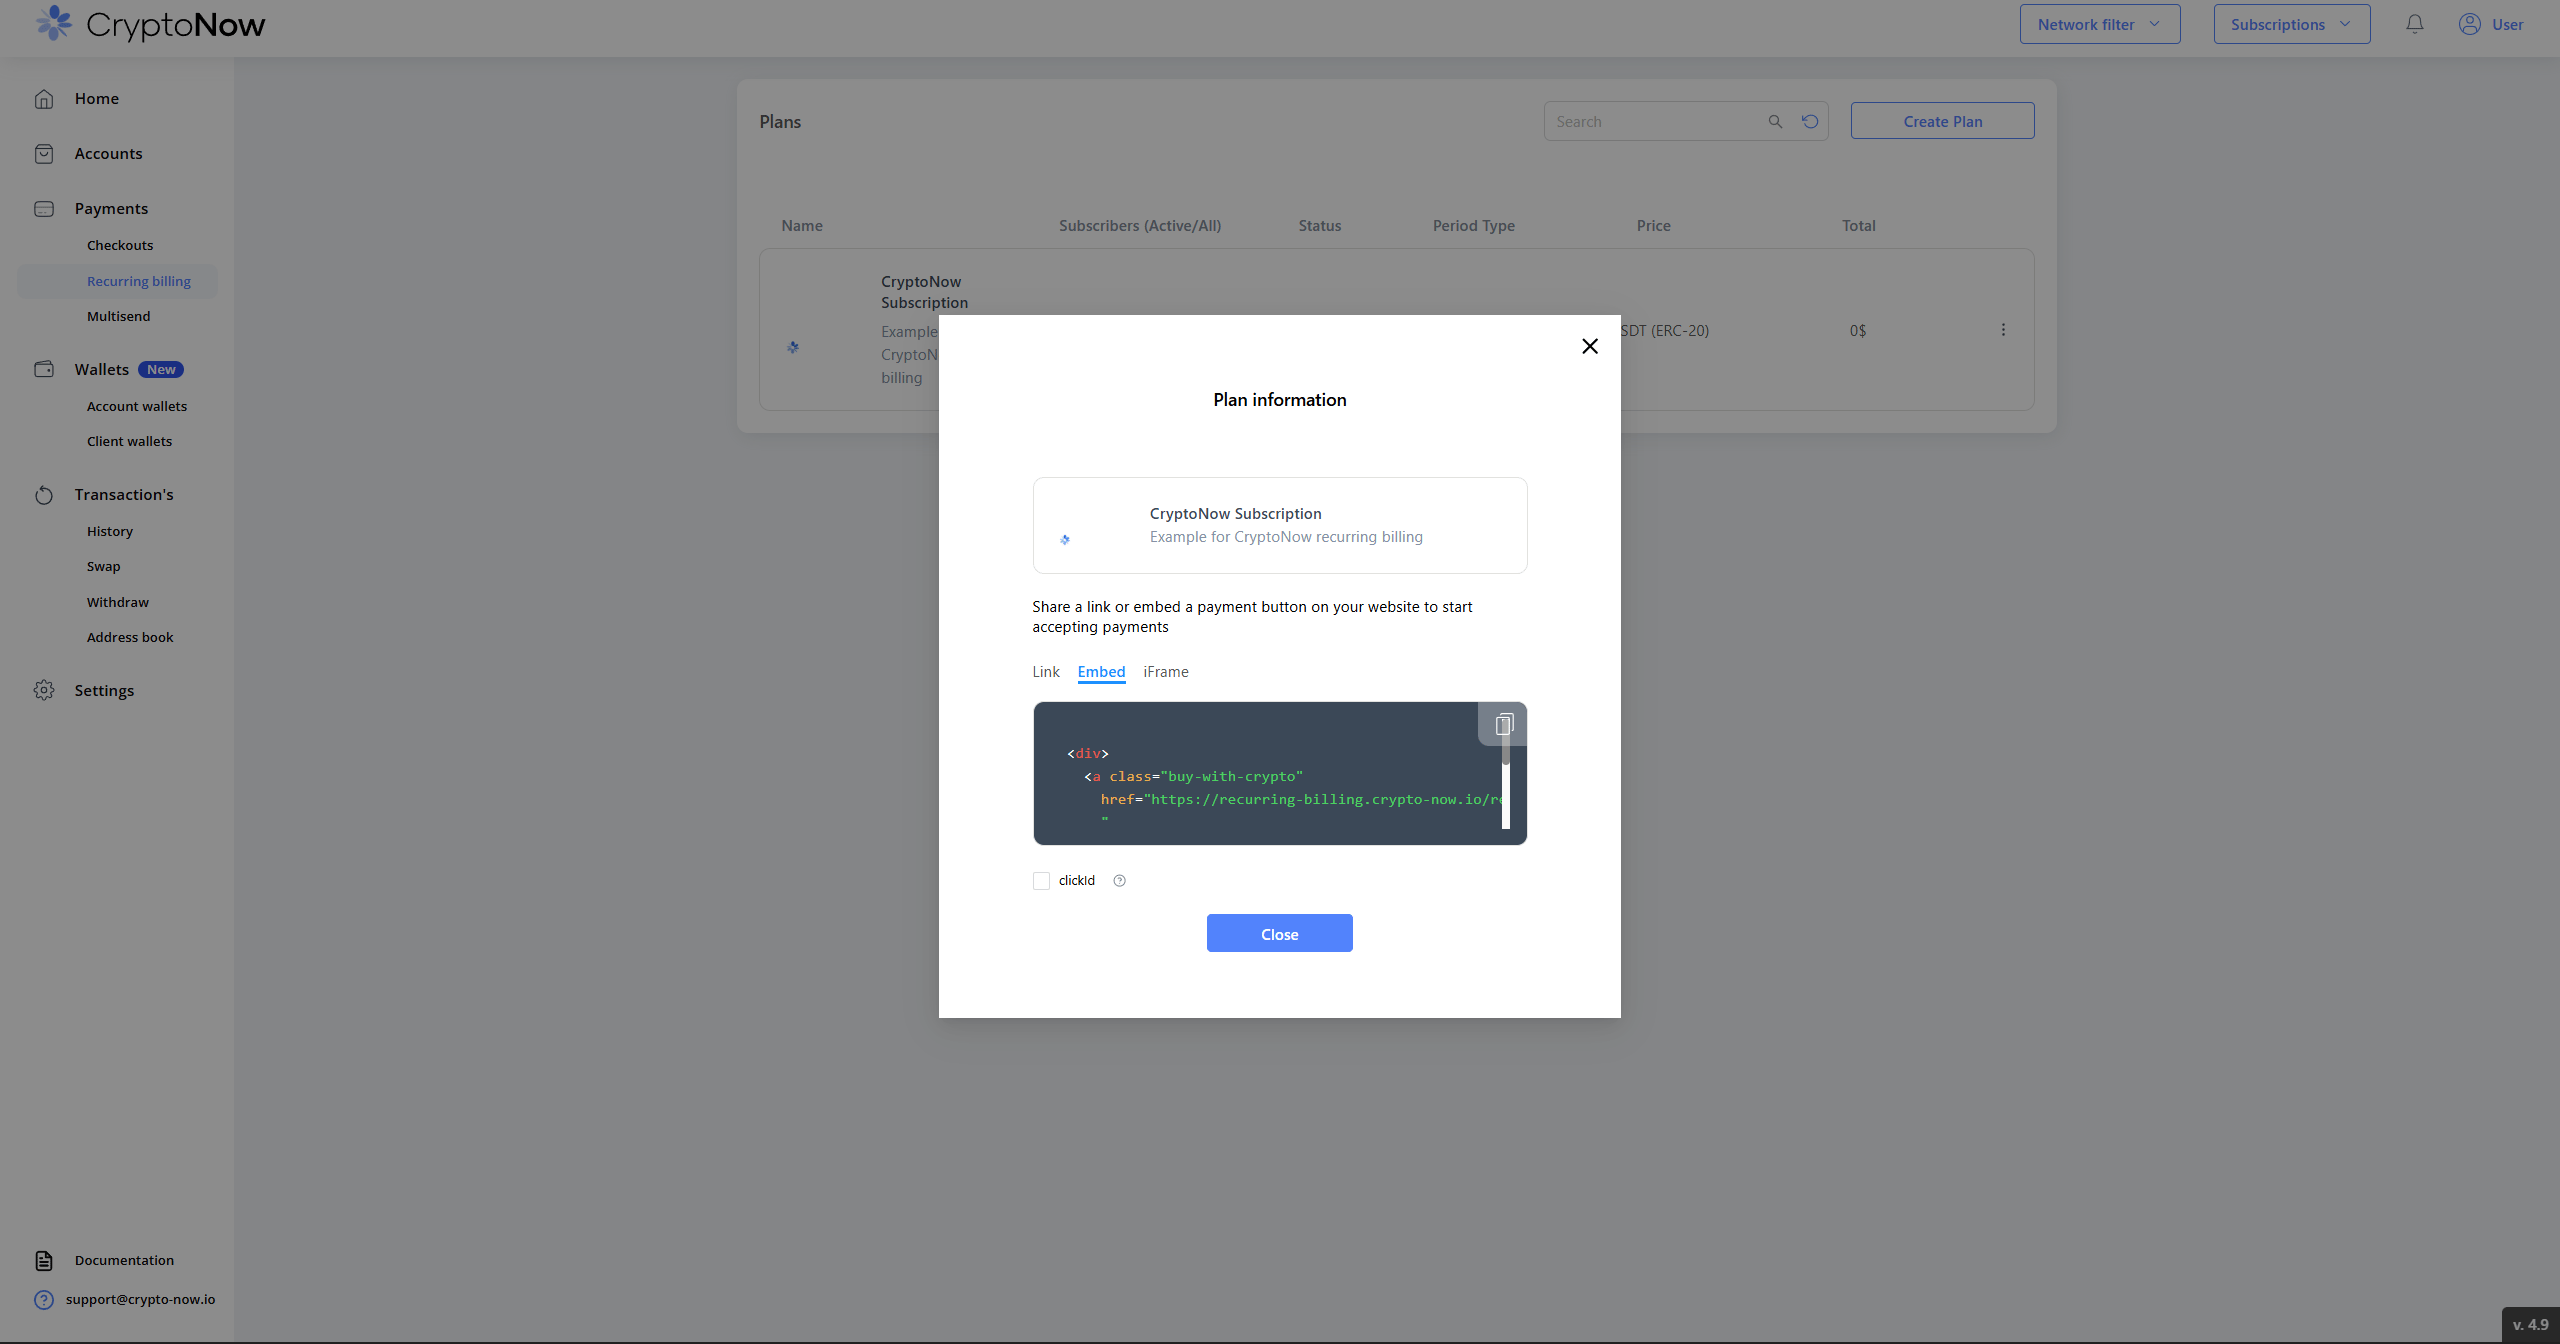
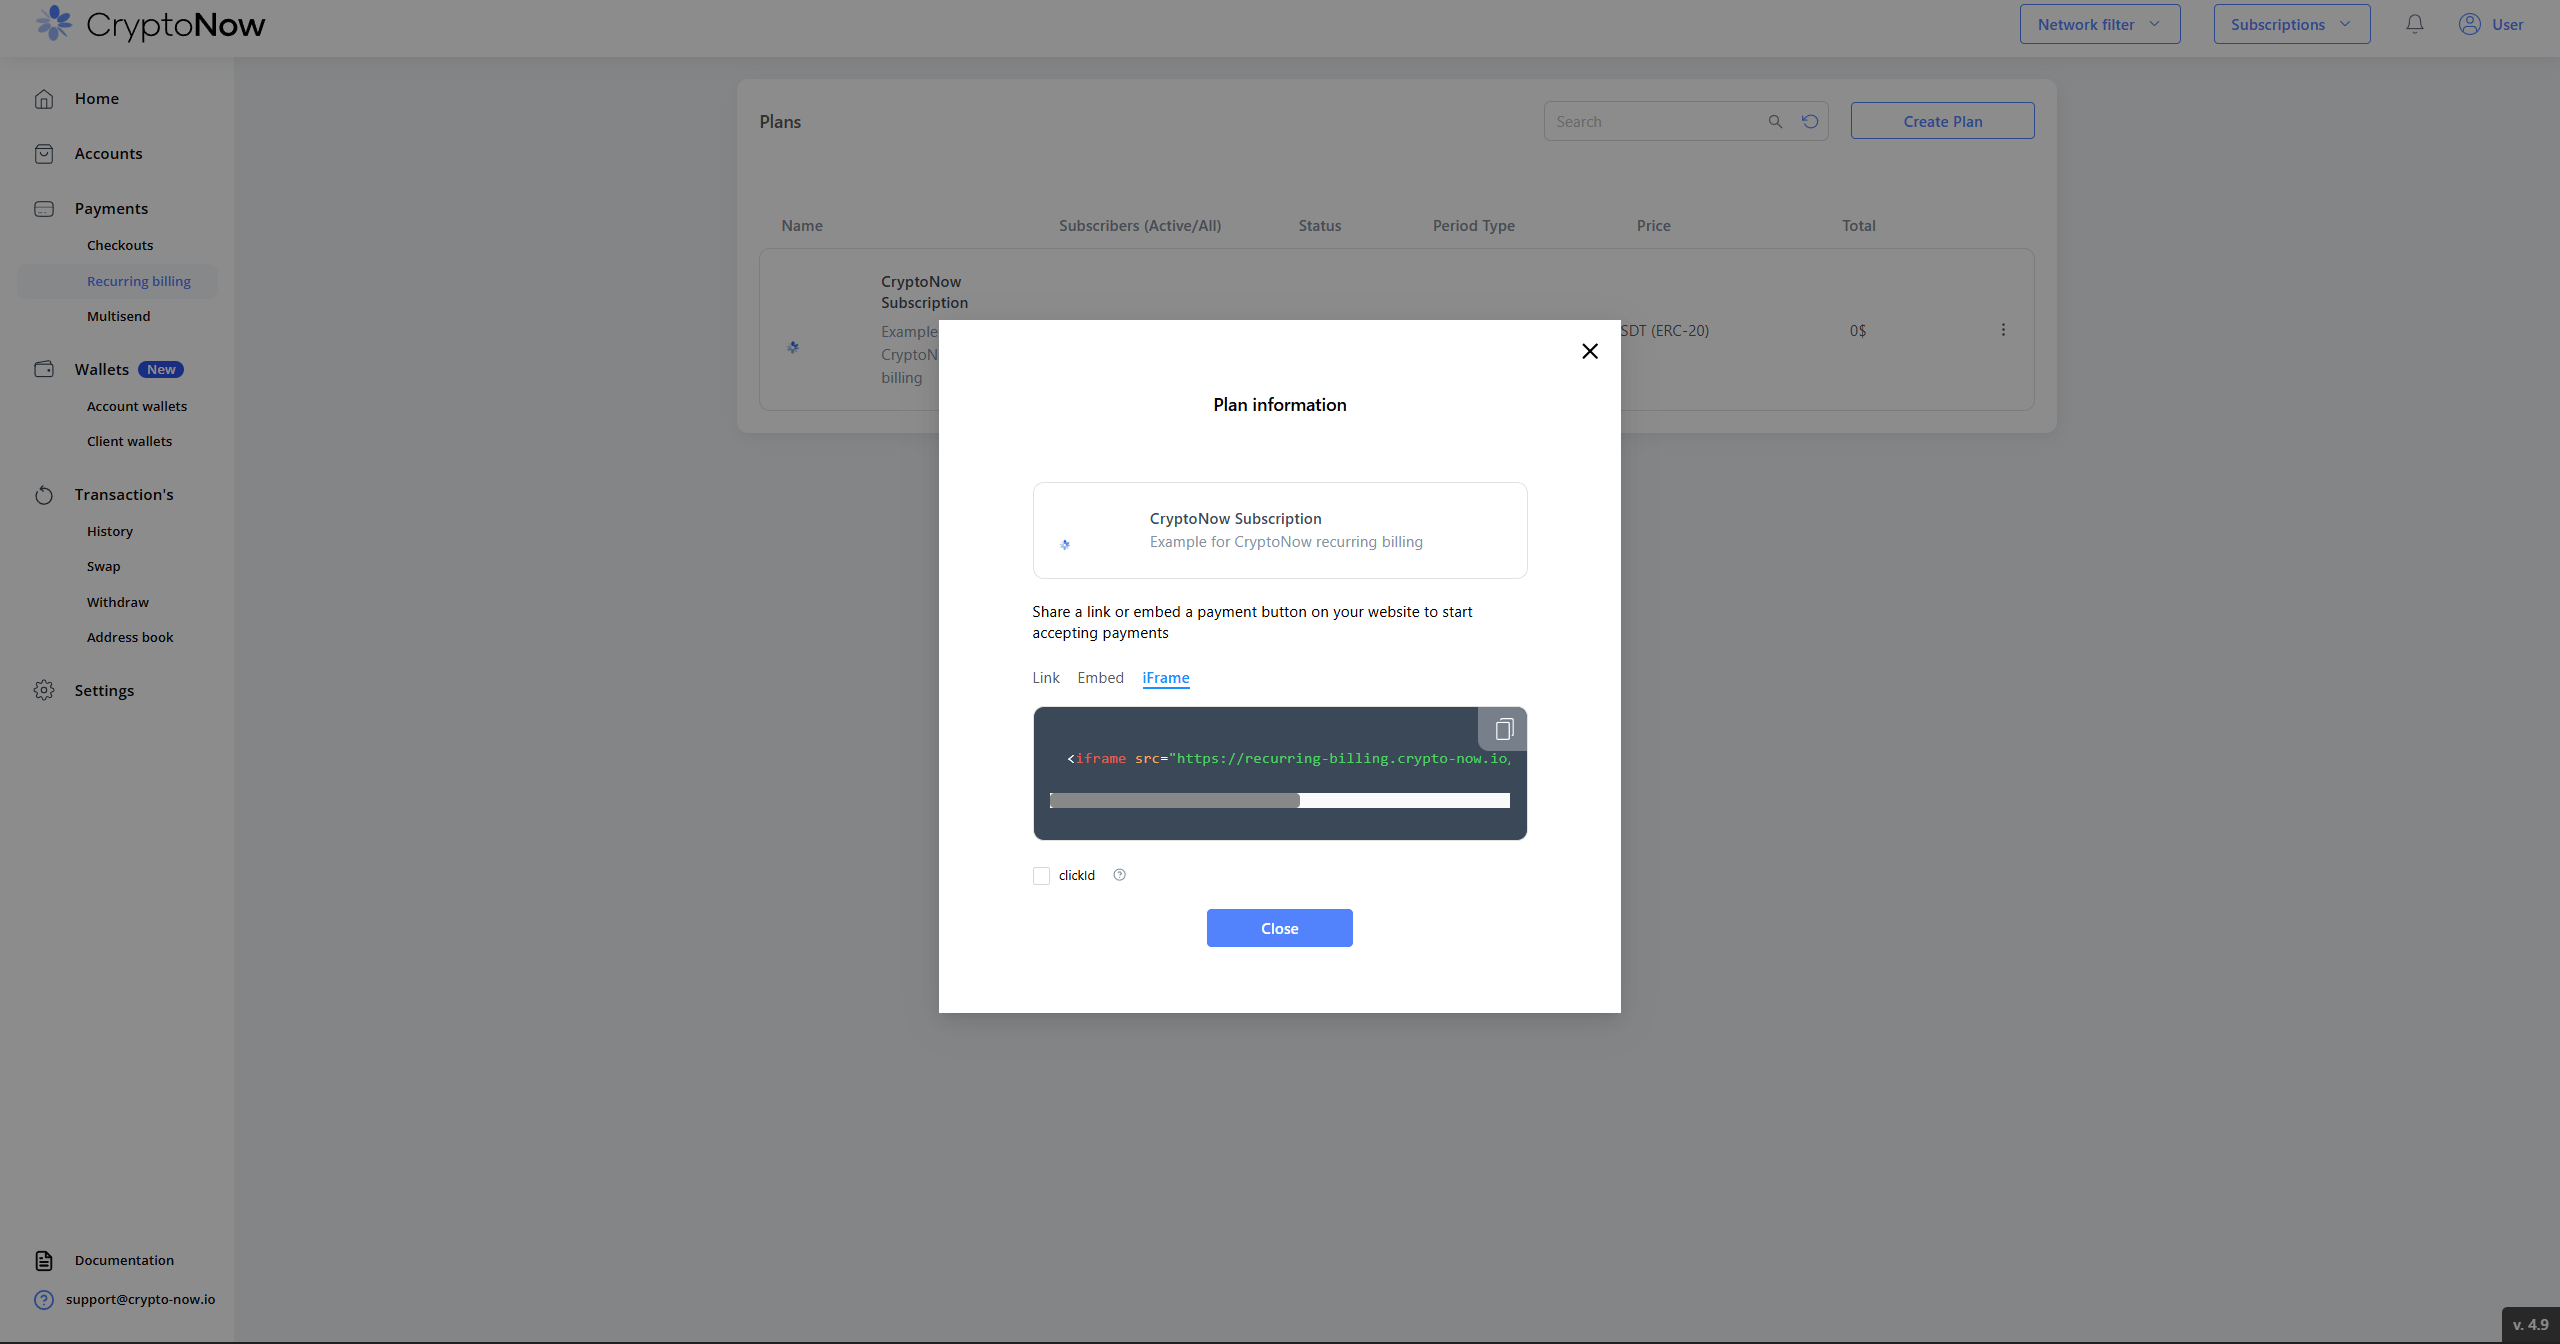
Once published, the plan appears in your list as Active.
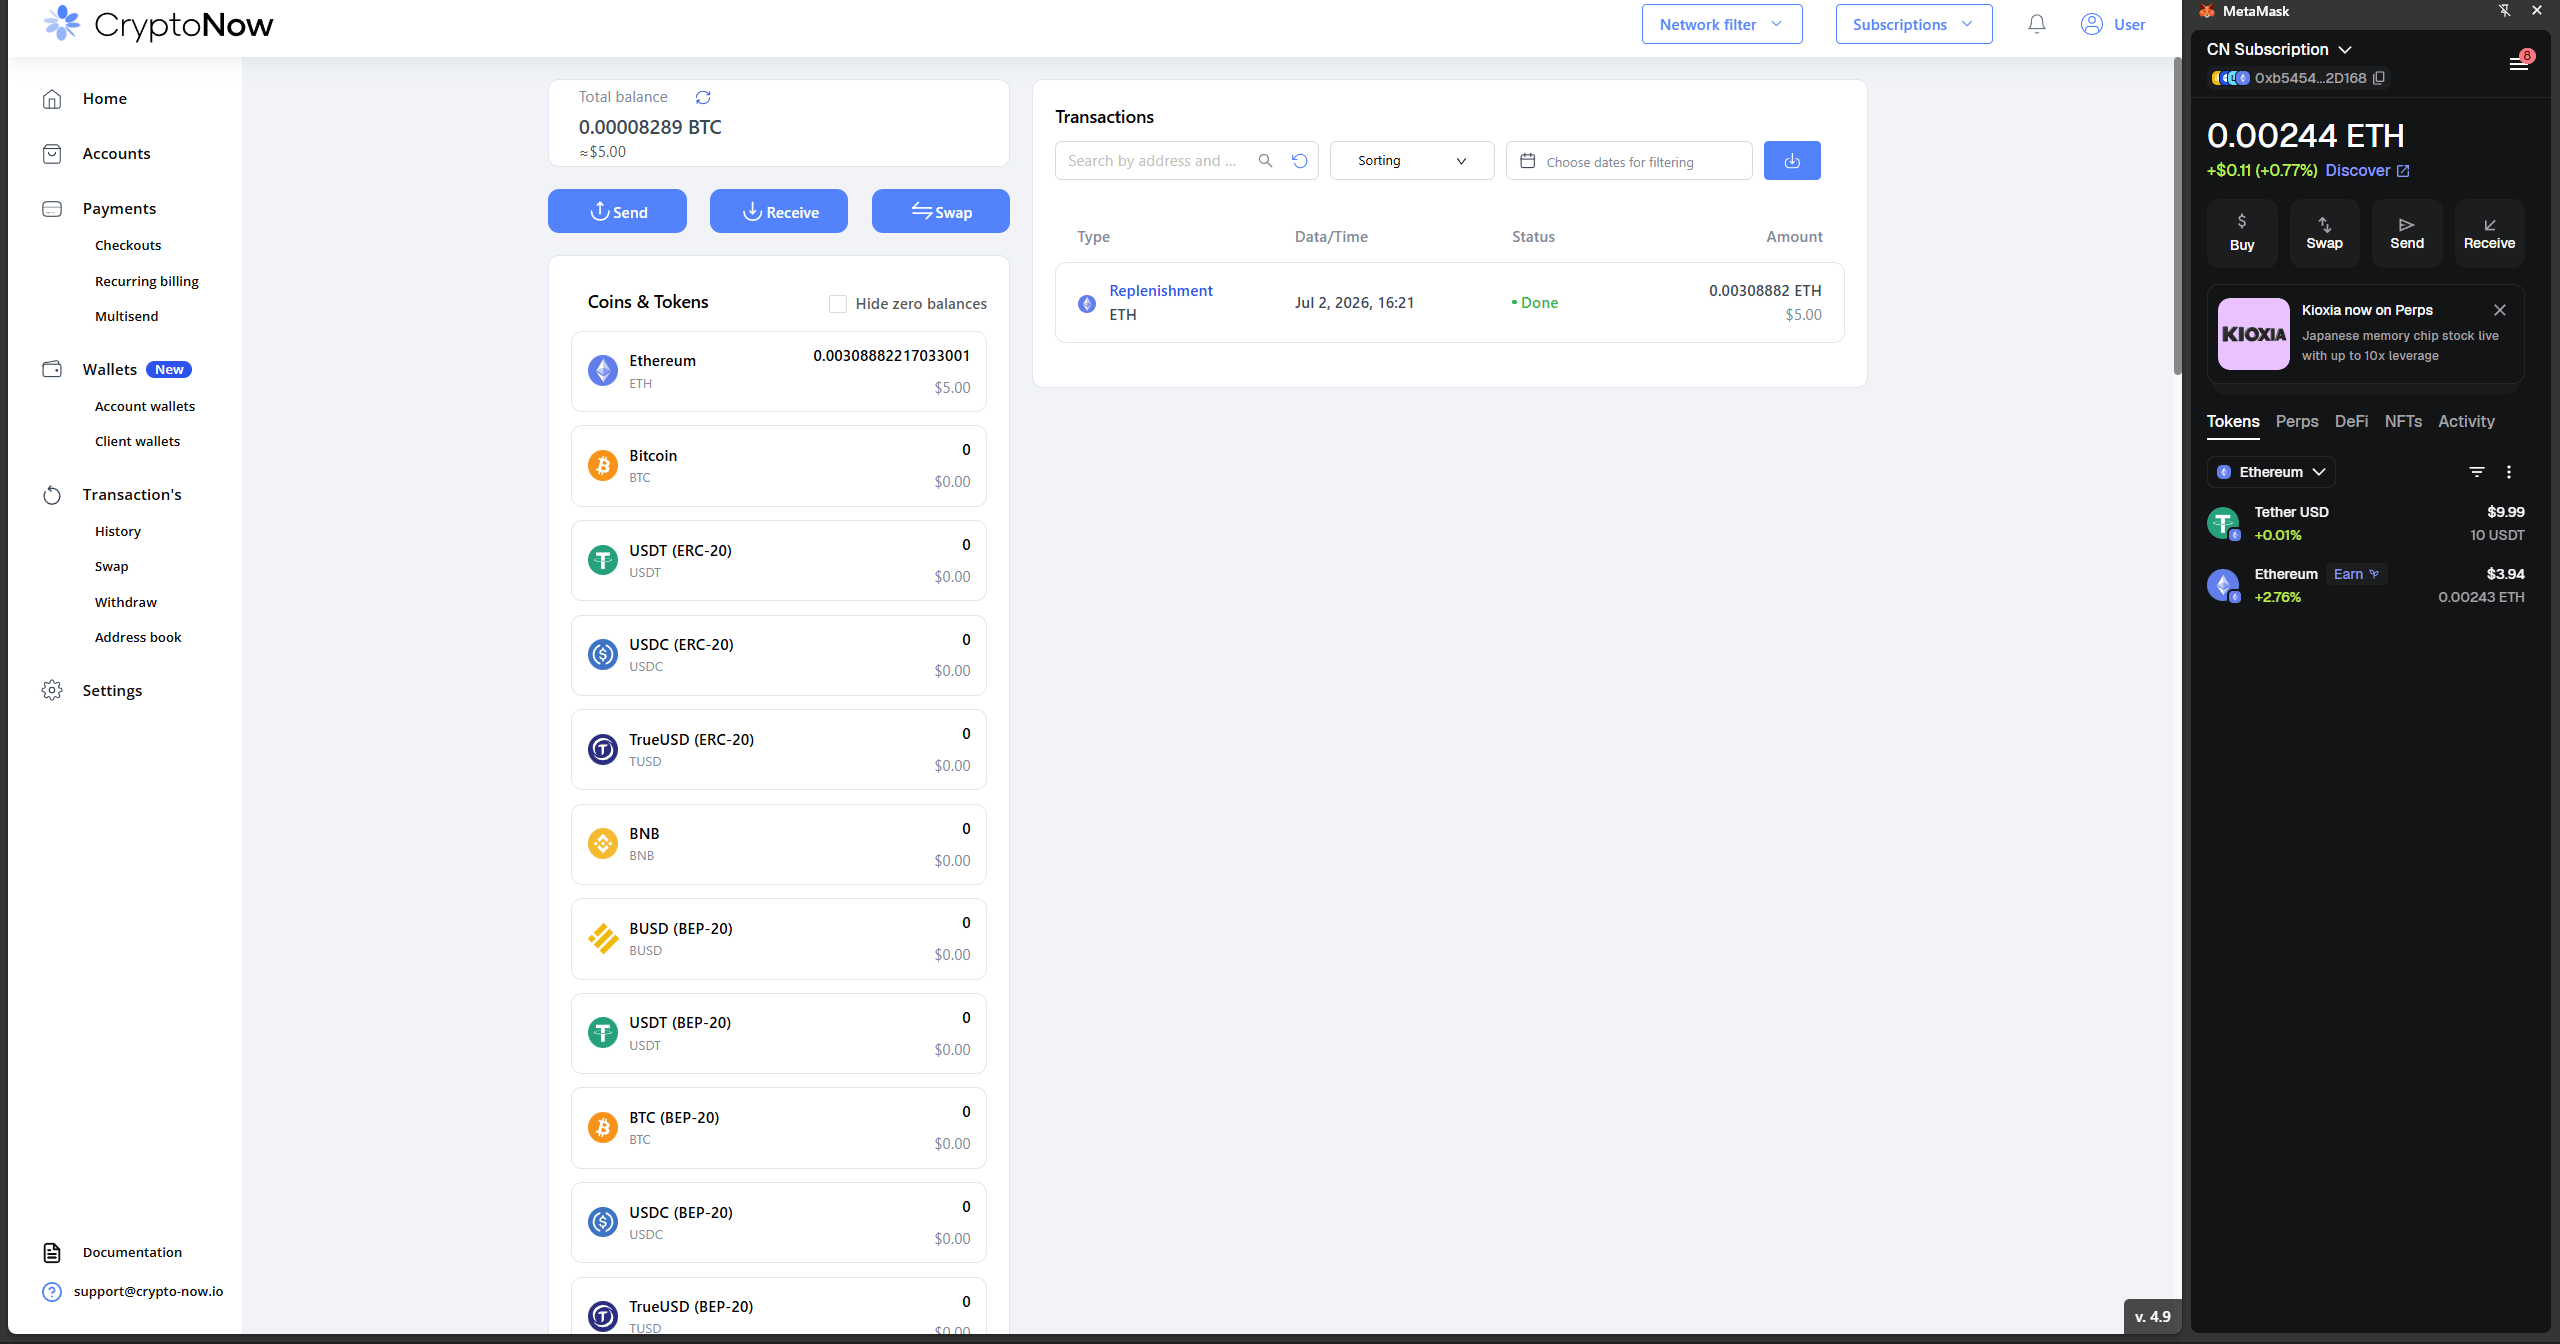
When a customer opens the link, they see the plan, enter their details, and connect a Web3 wallet. They select Recurring, approve the charge once, and from then on each period is collected automatically. They can cancel at any time.
The hosted subscribe page a customer sees after opening the link.
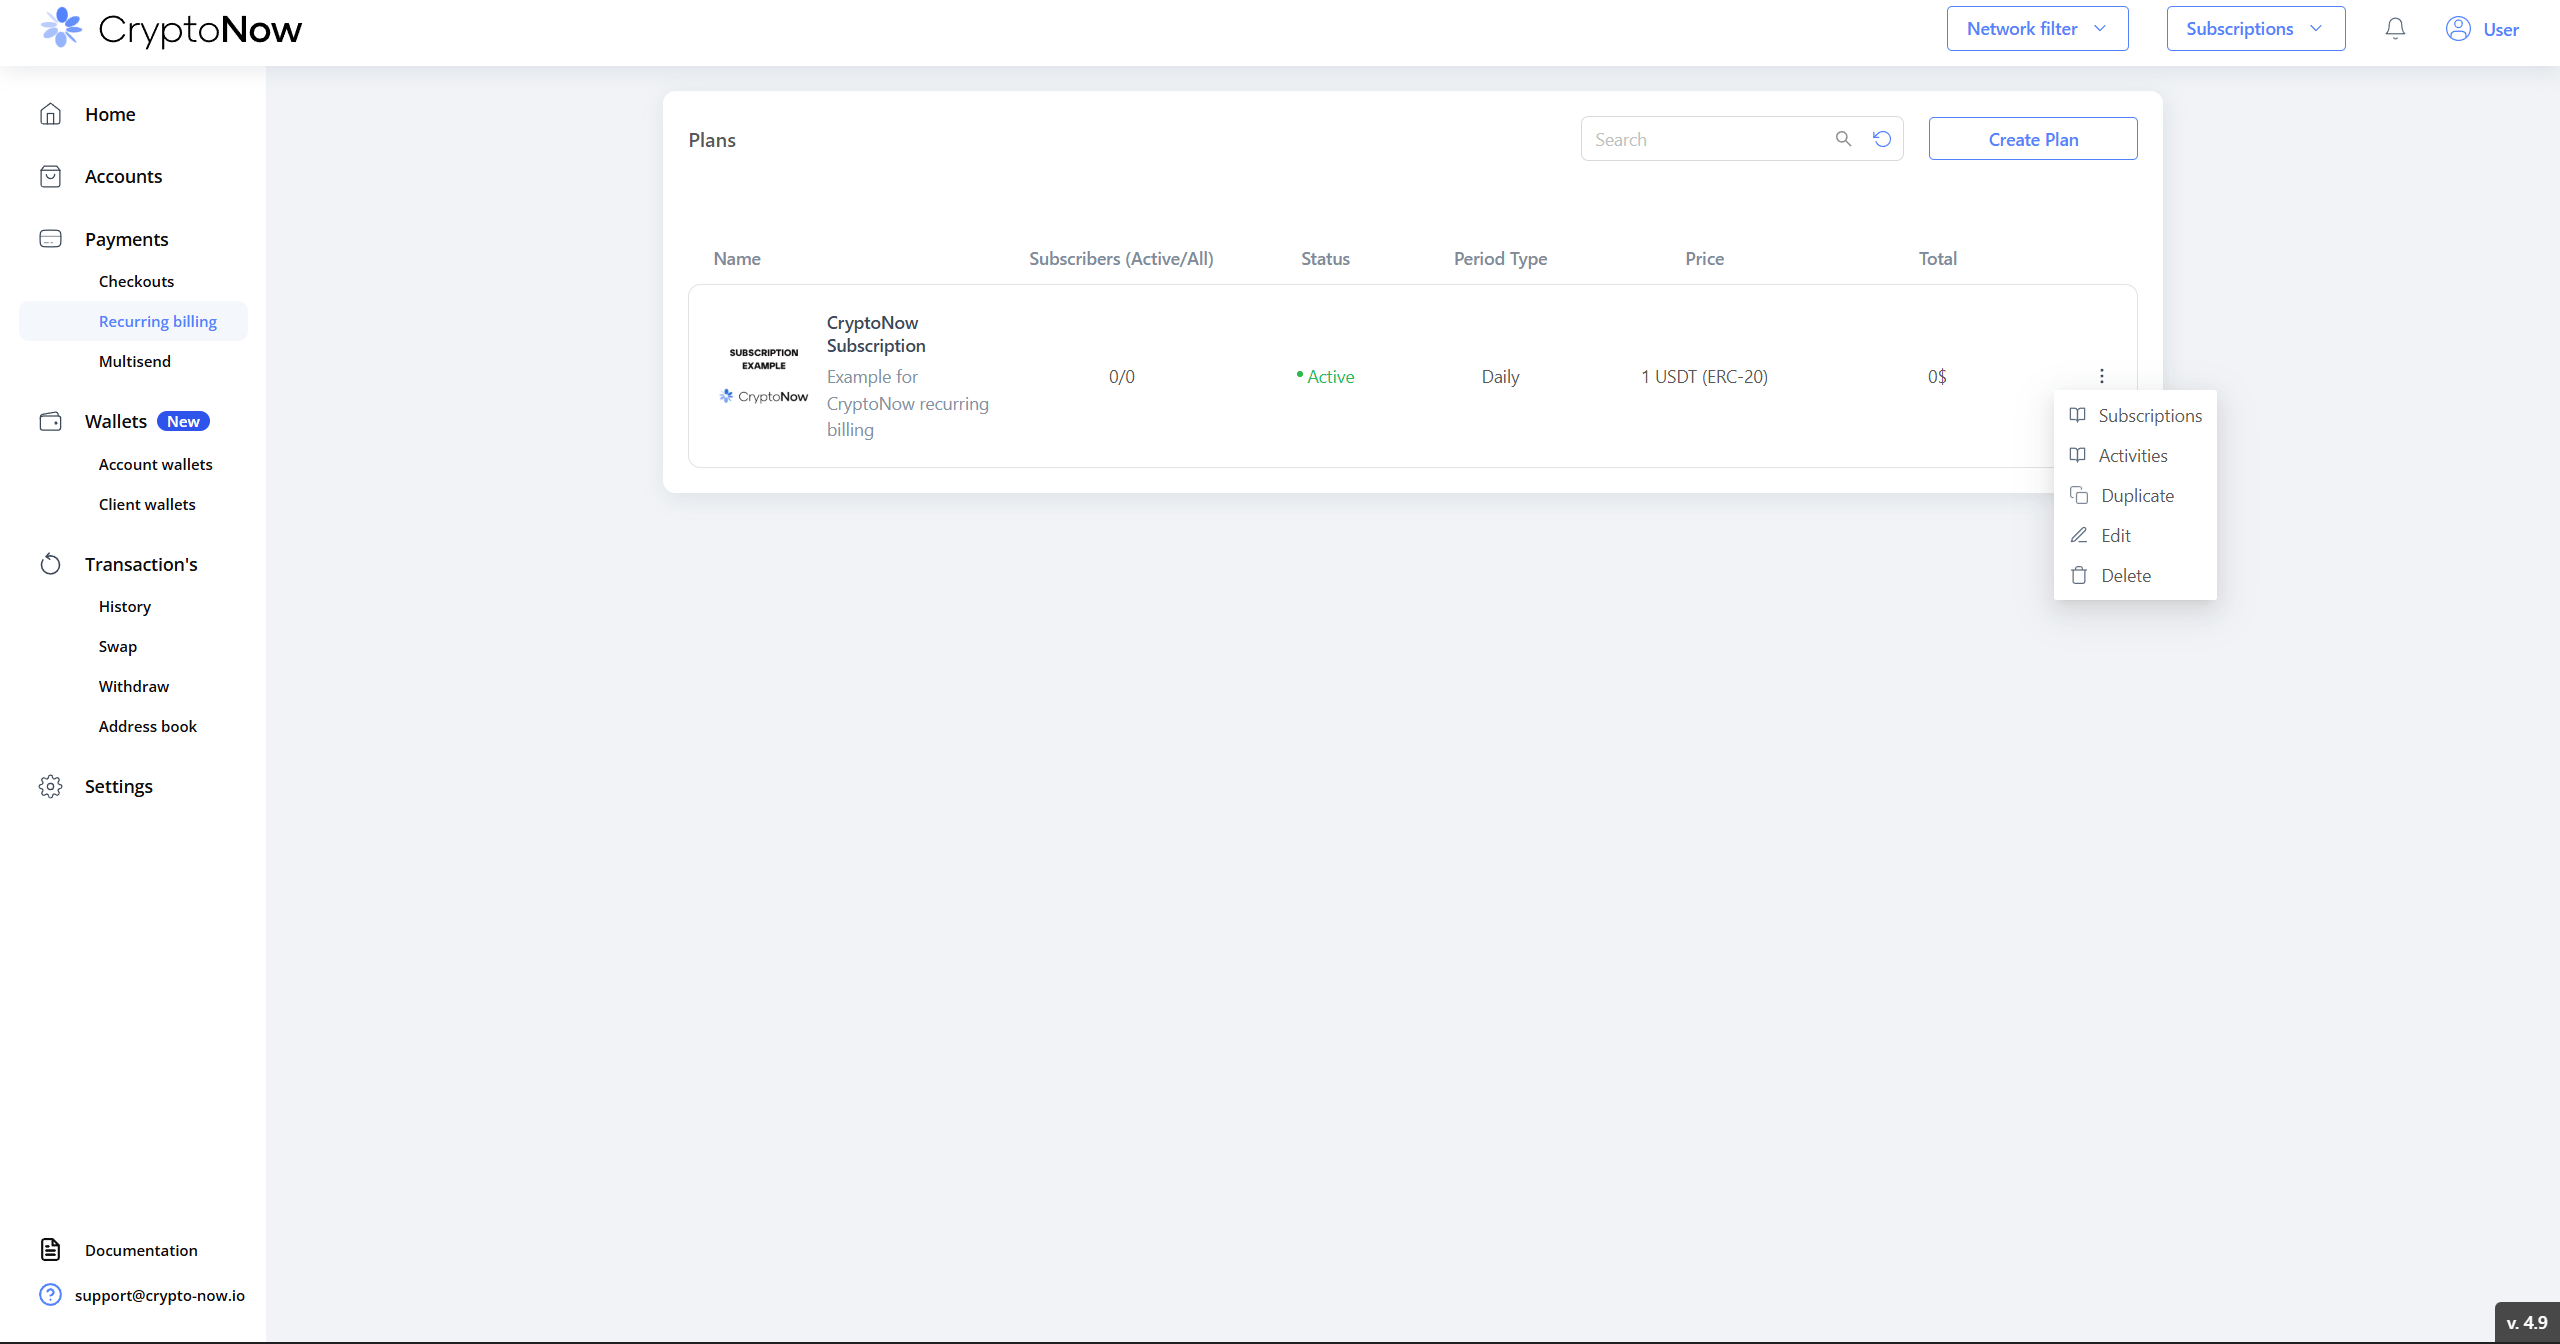
Use the actions menu (⋮) on any plan row to manage it after launch:
Per-plan actions.
Subscriptions — view everyone subscribed to the plan.
Activities — the per-period charge history for the plan.
Edit — update details, or deactivate and reactivate the plan.
Duplicate — spin up a similar plan quickly.
Delete — remove a plan.
As customers subscribe, the Subscribers (Active / All) count and the Activities log fill in, giving you a running view of who’s active and what has been charged.