Accept crypto on your WordPress/WooCommerce store using the CryptoNow plugin.
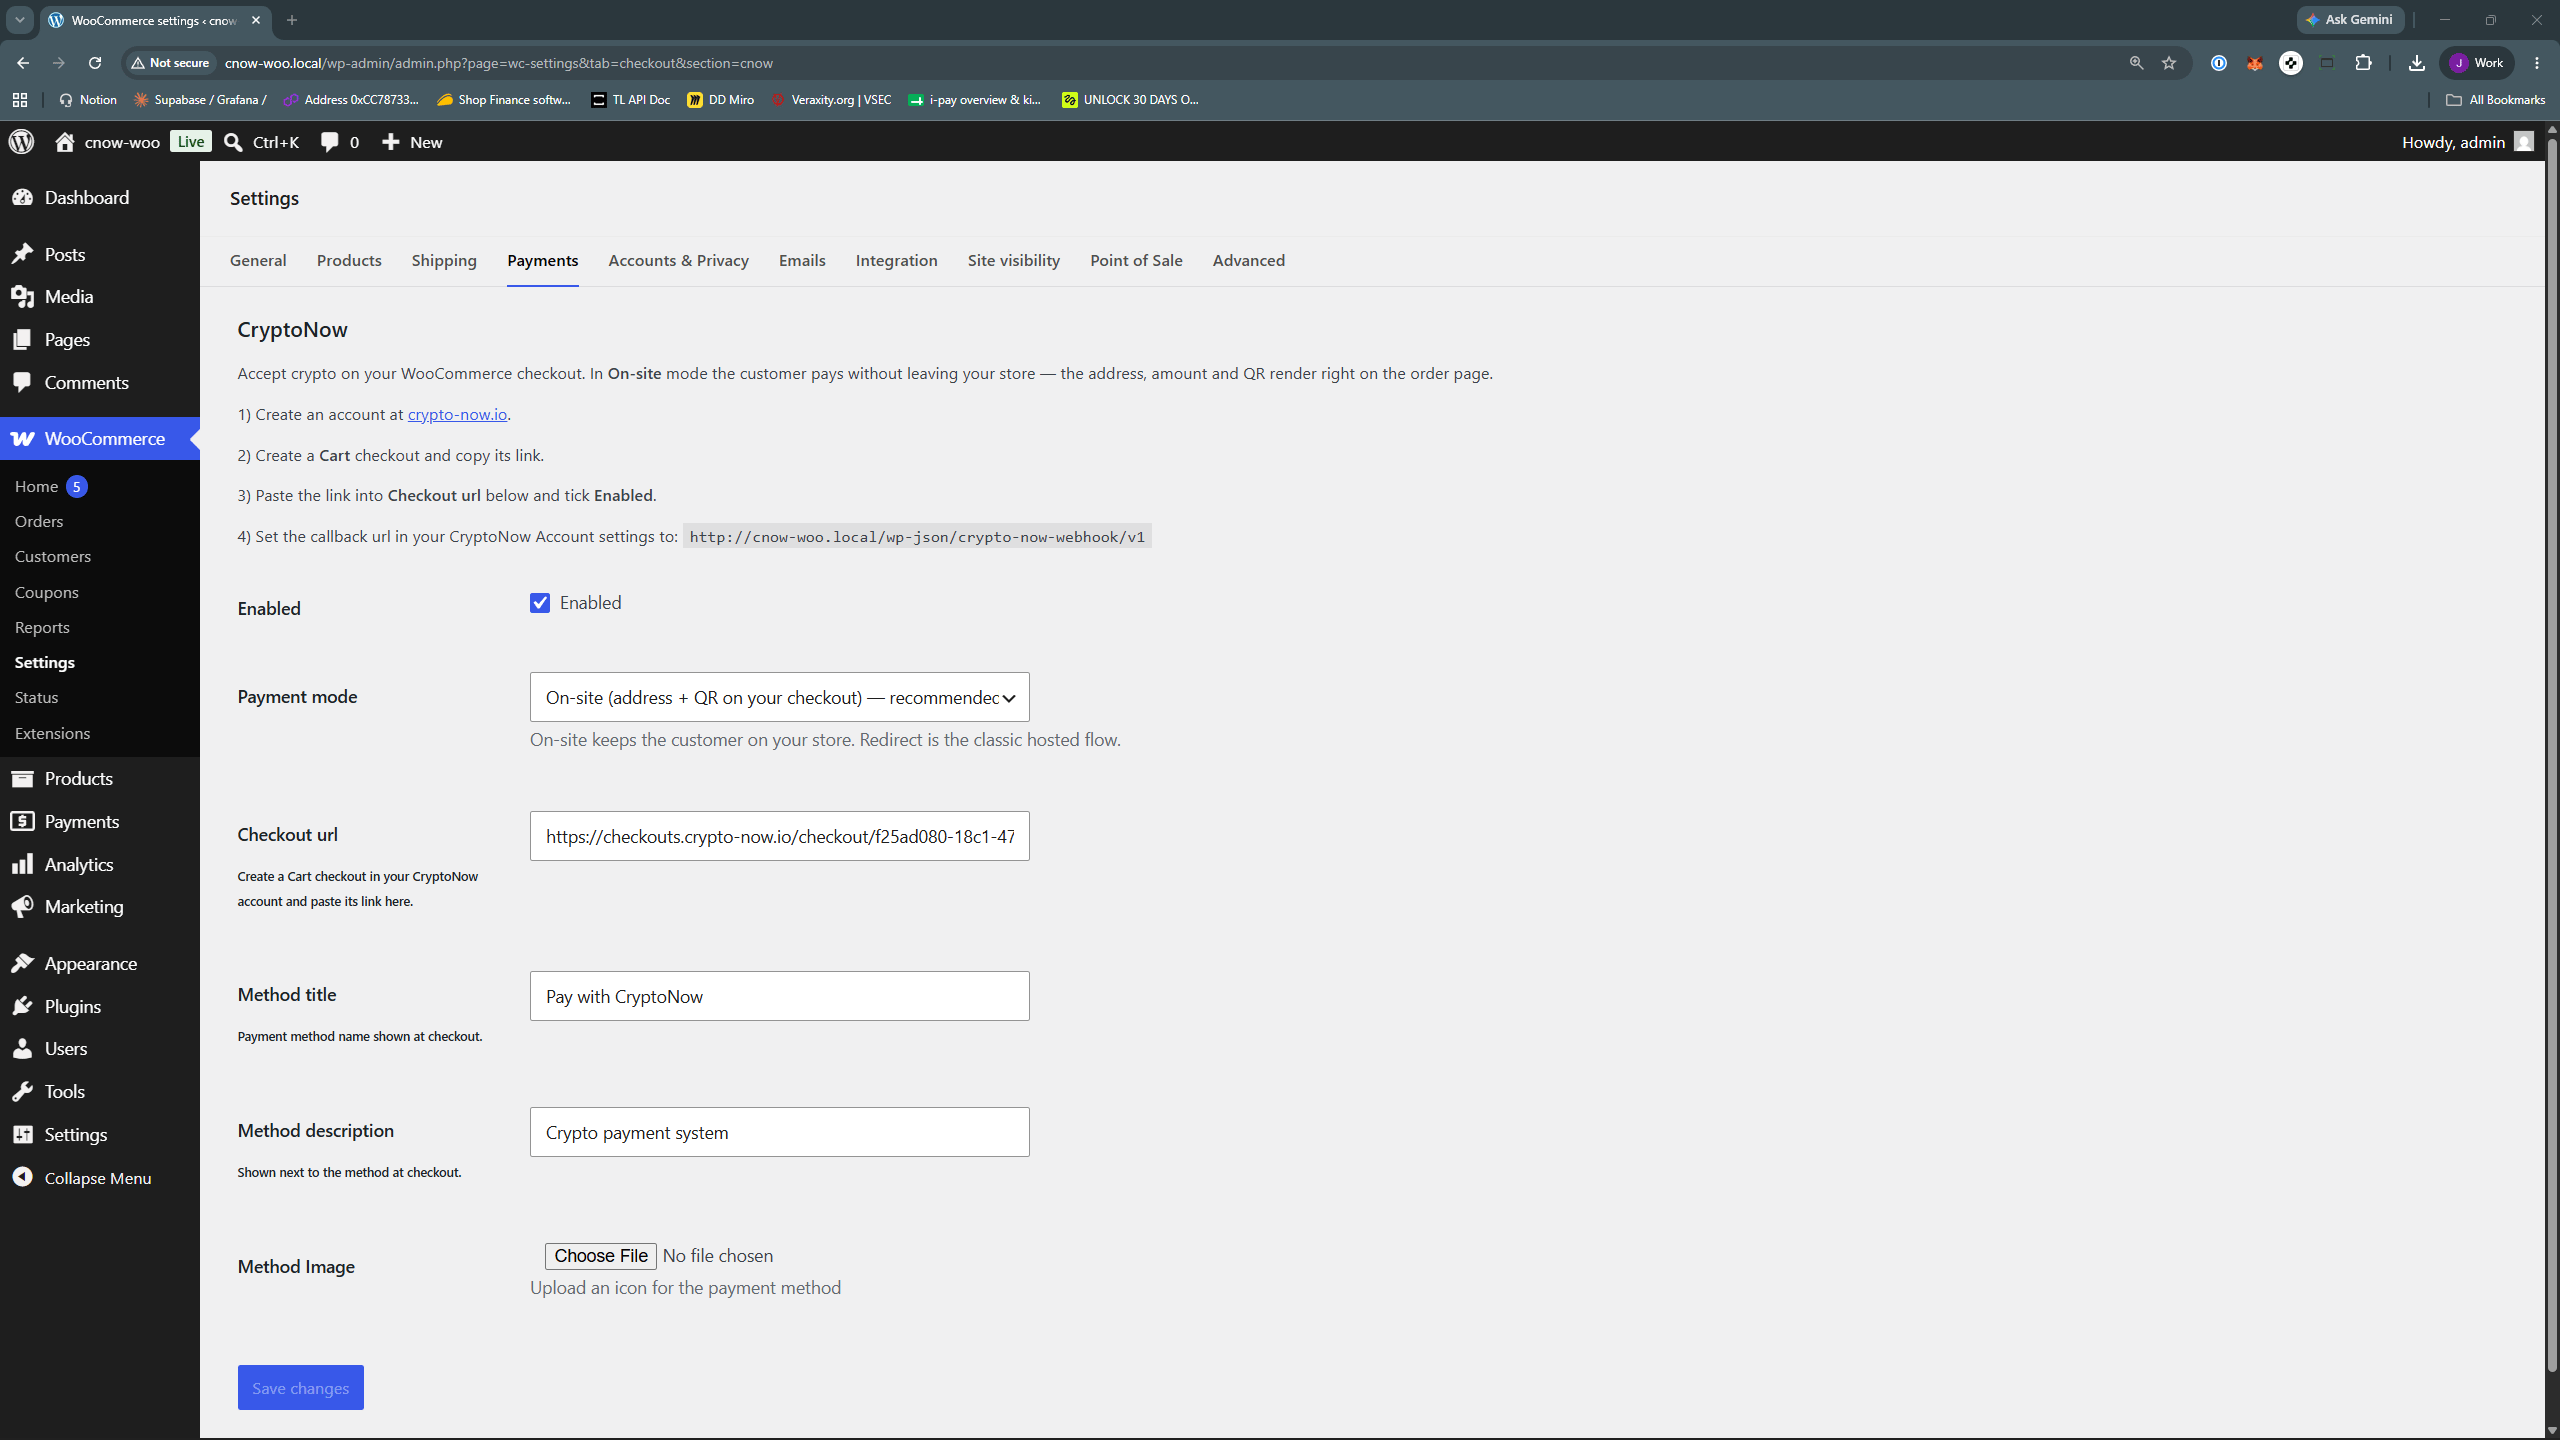
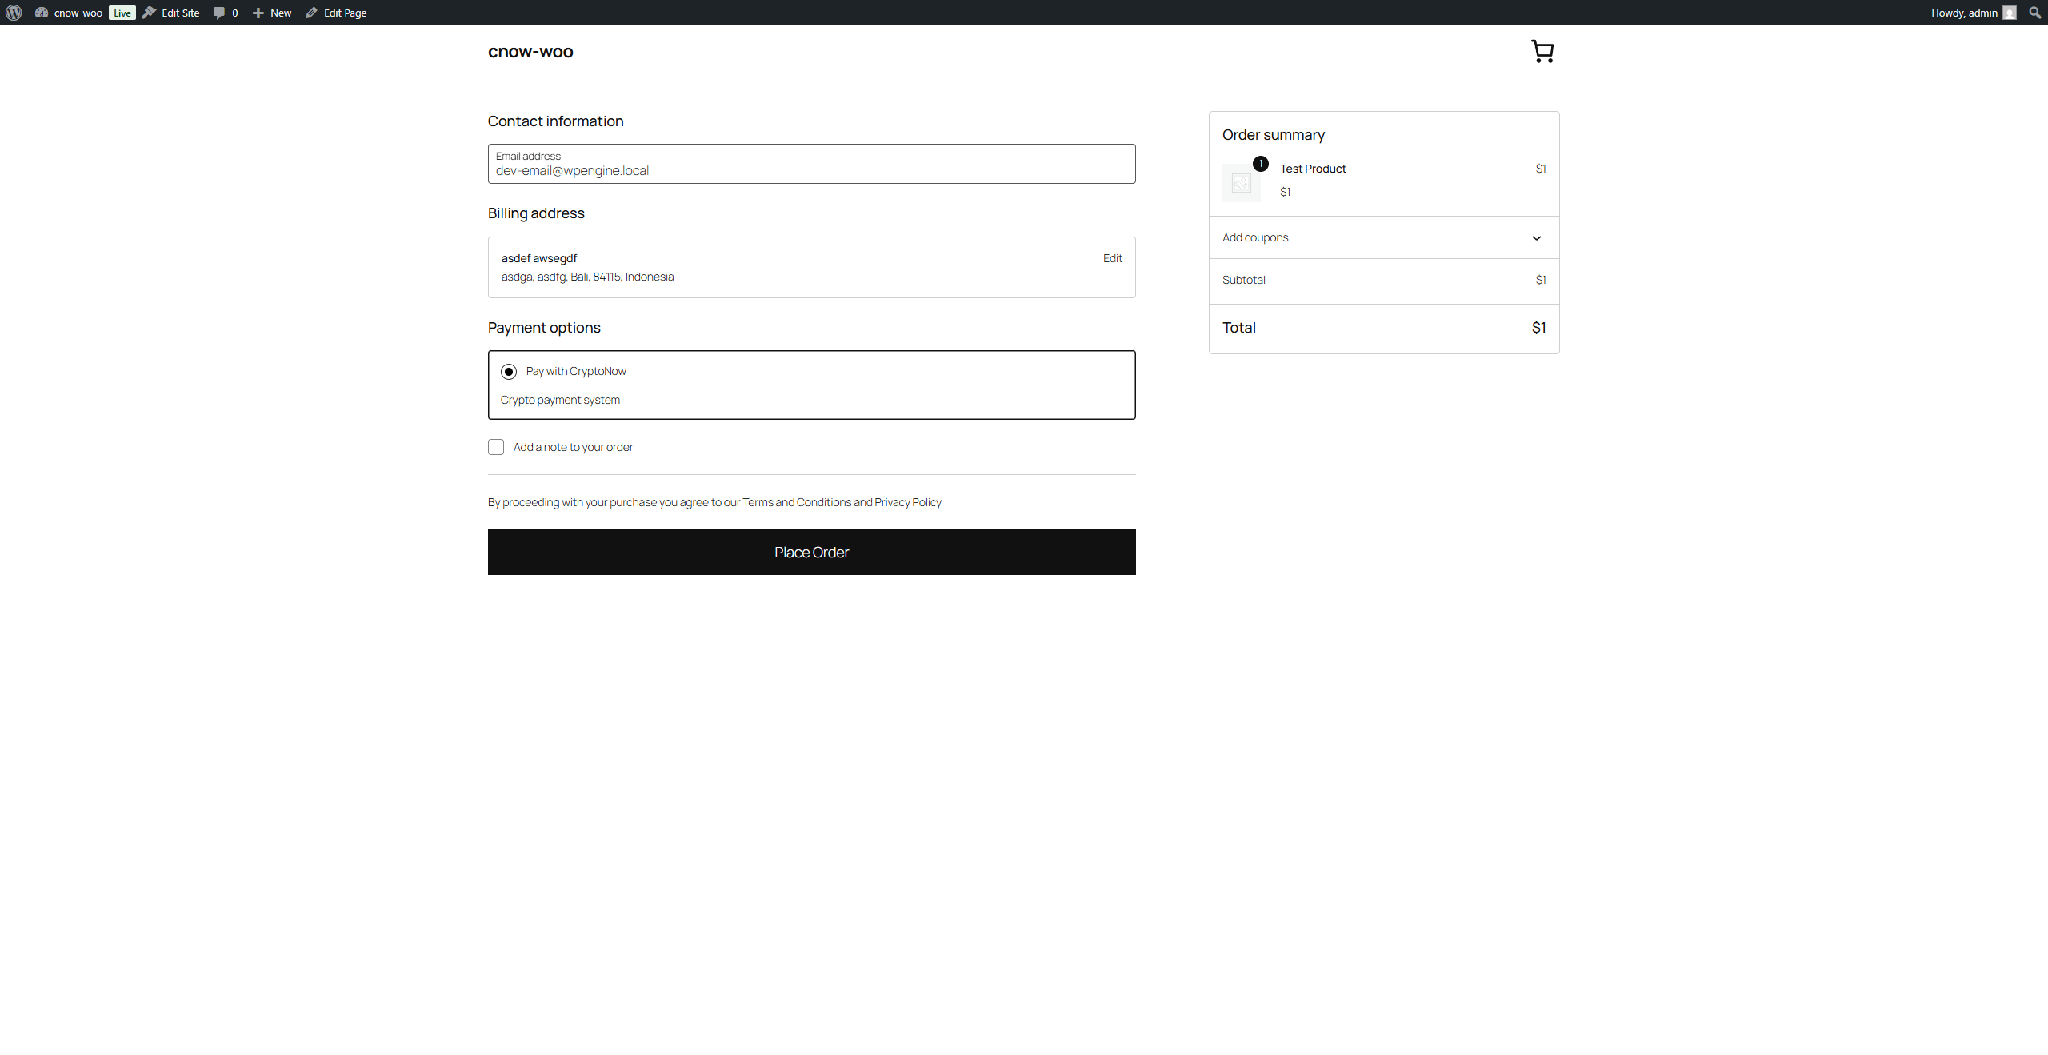
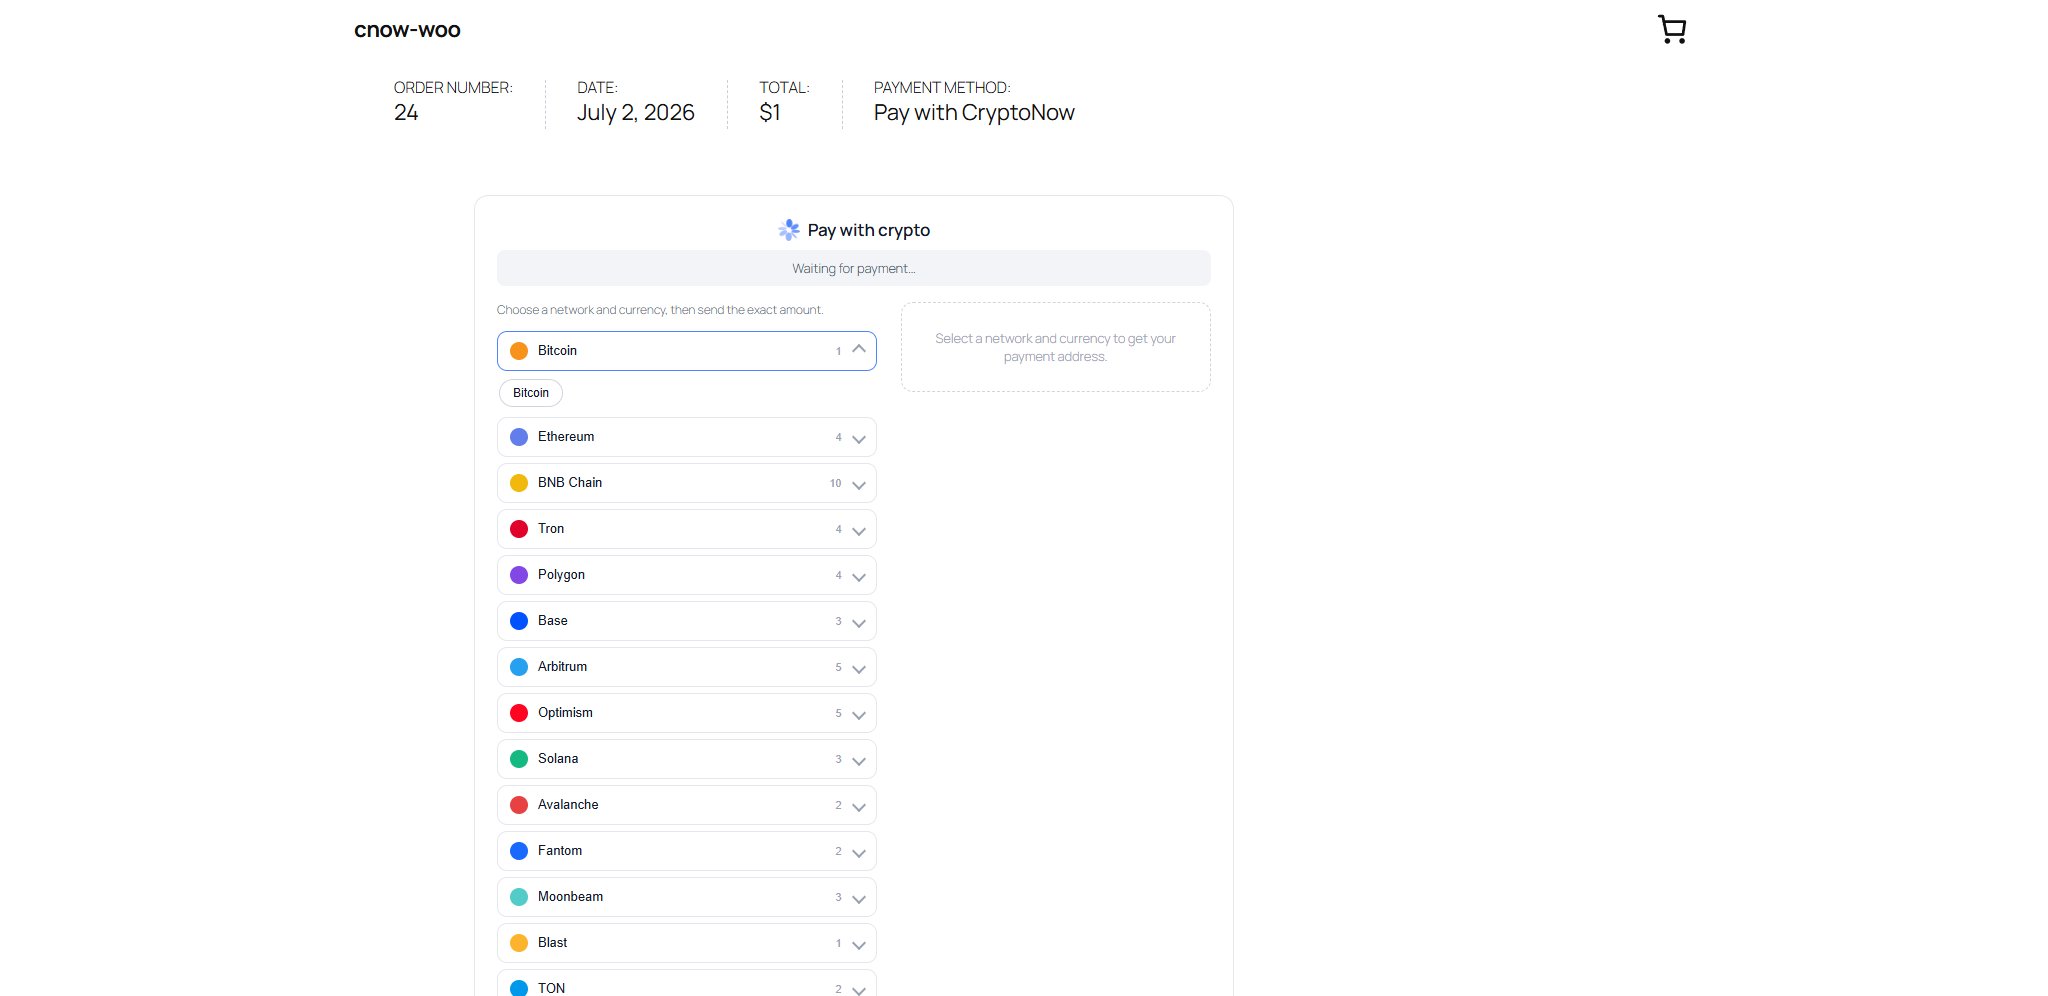
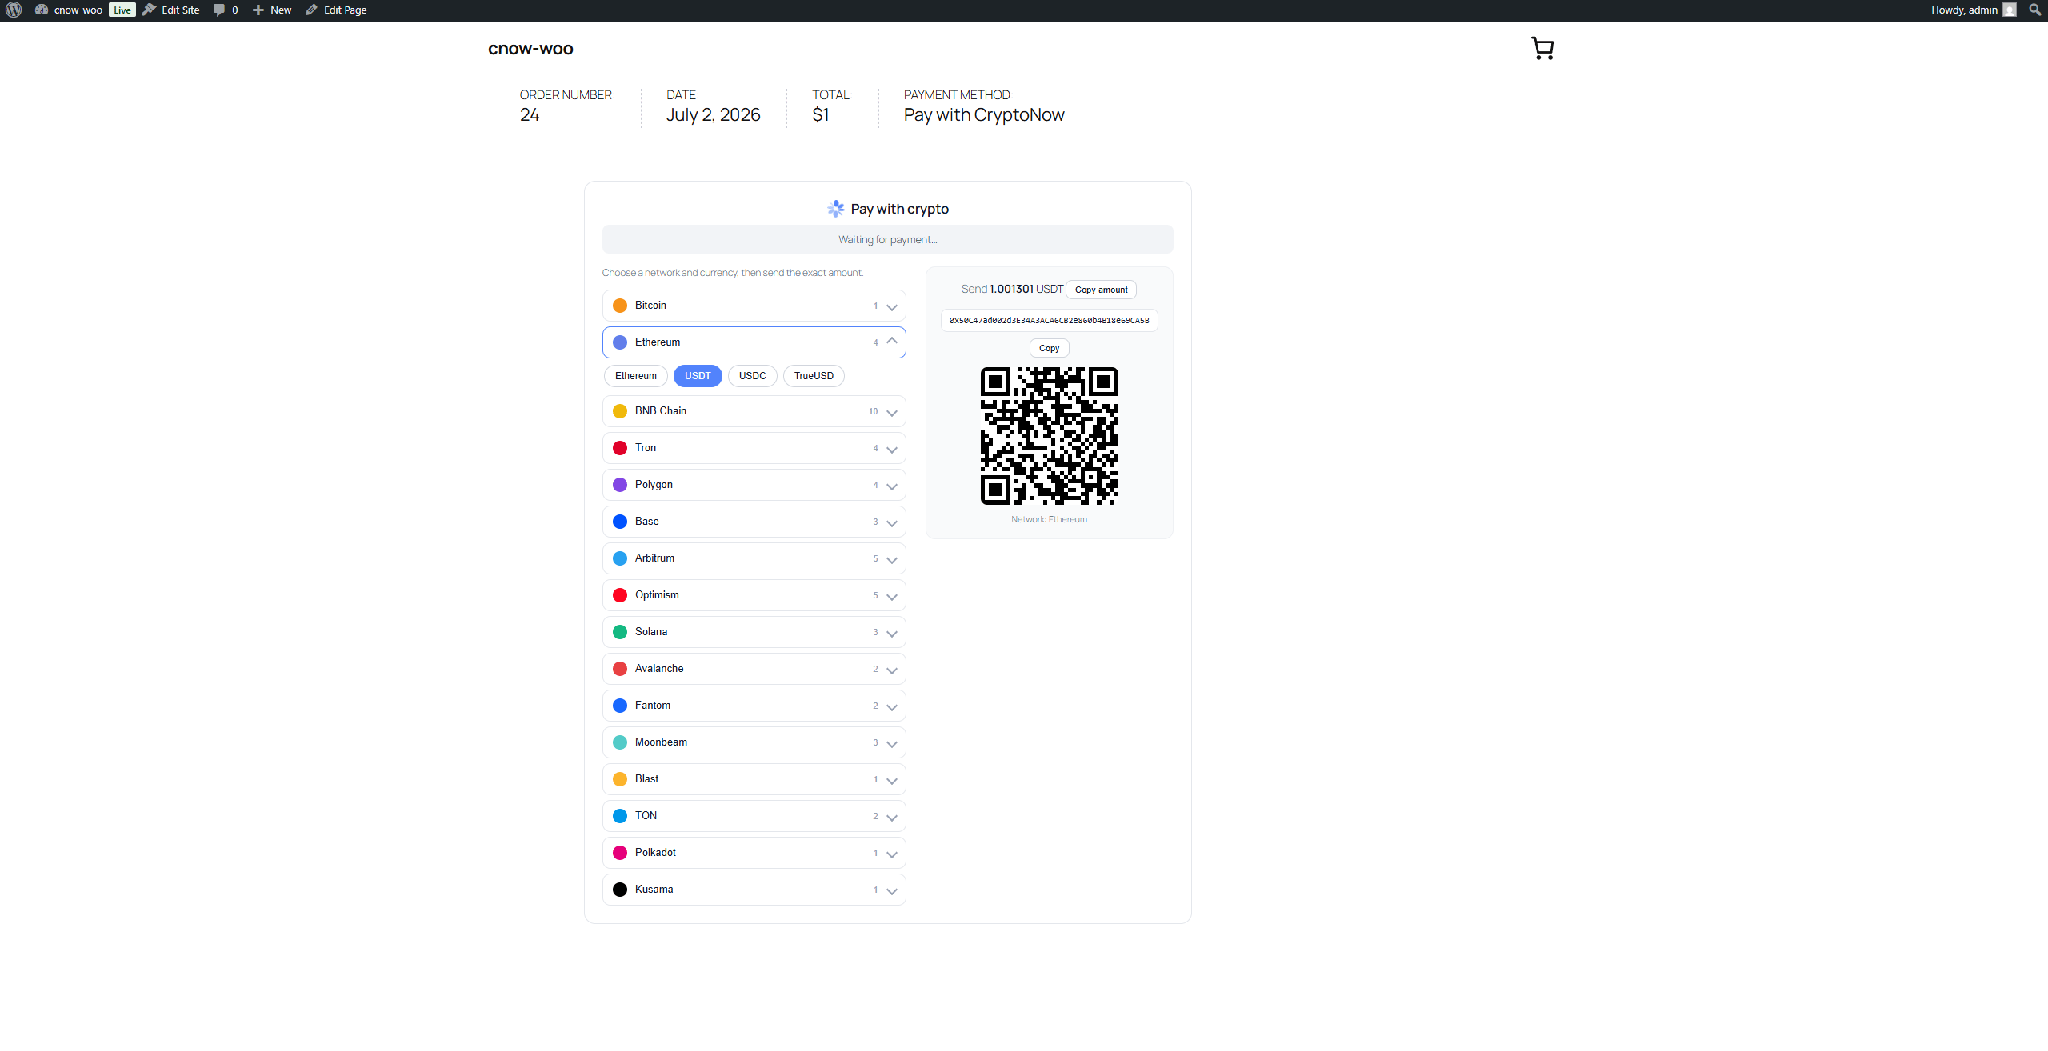
The CryptoNow plugin lets your WooCommerce store accept crypto. When a customer picks Pay with CryptoNow at checkout, the payment address, amount and QR code appear right on your order page — the customer never leaves your store. Funds settle straight into your CryptoNow account wallet, and the order is marked paid automatically.
You’ll need a CryptoNow account and a working WordPress store with WooCommerce installed.
The plugin connects to a Cart checkout in your CryptoNow account. This checkout type accepts a dynamic amount, which is what WooCommerce sends for each order.
1
Create the checkout
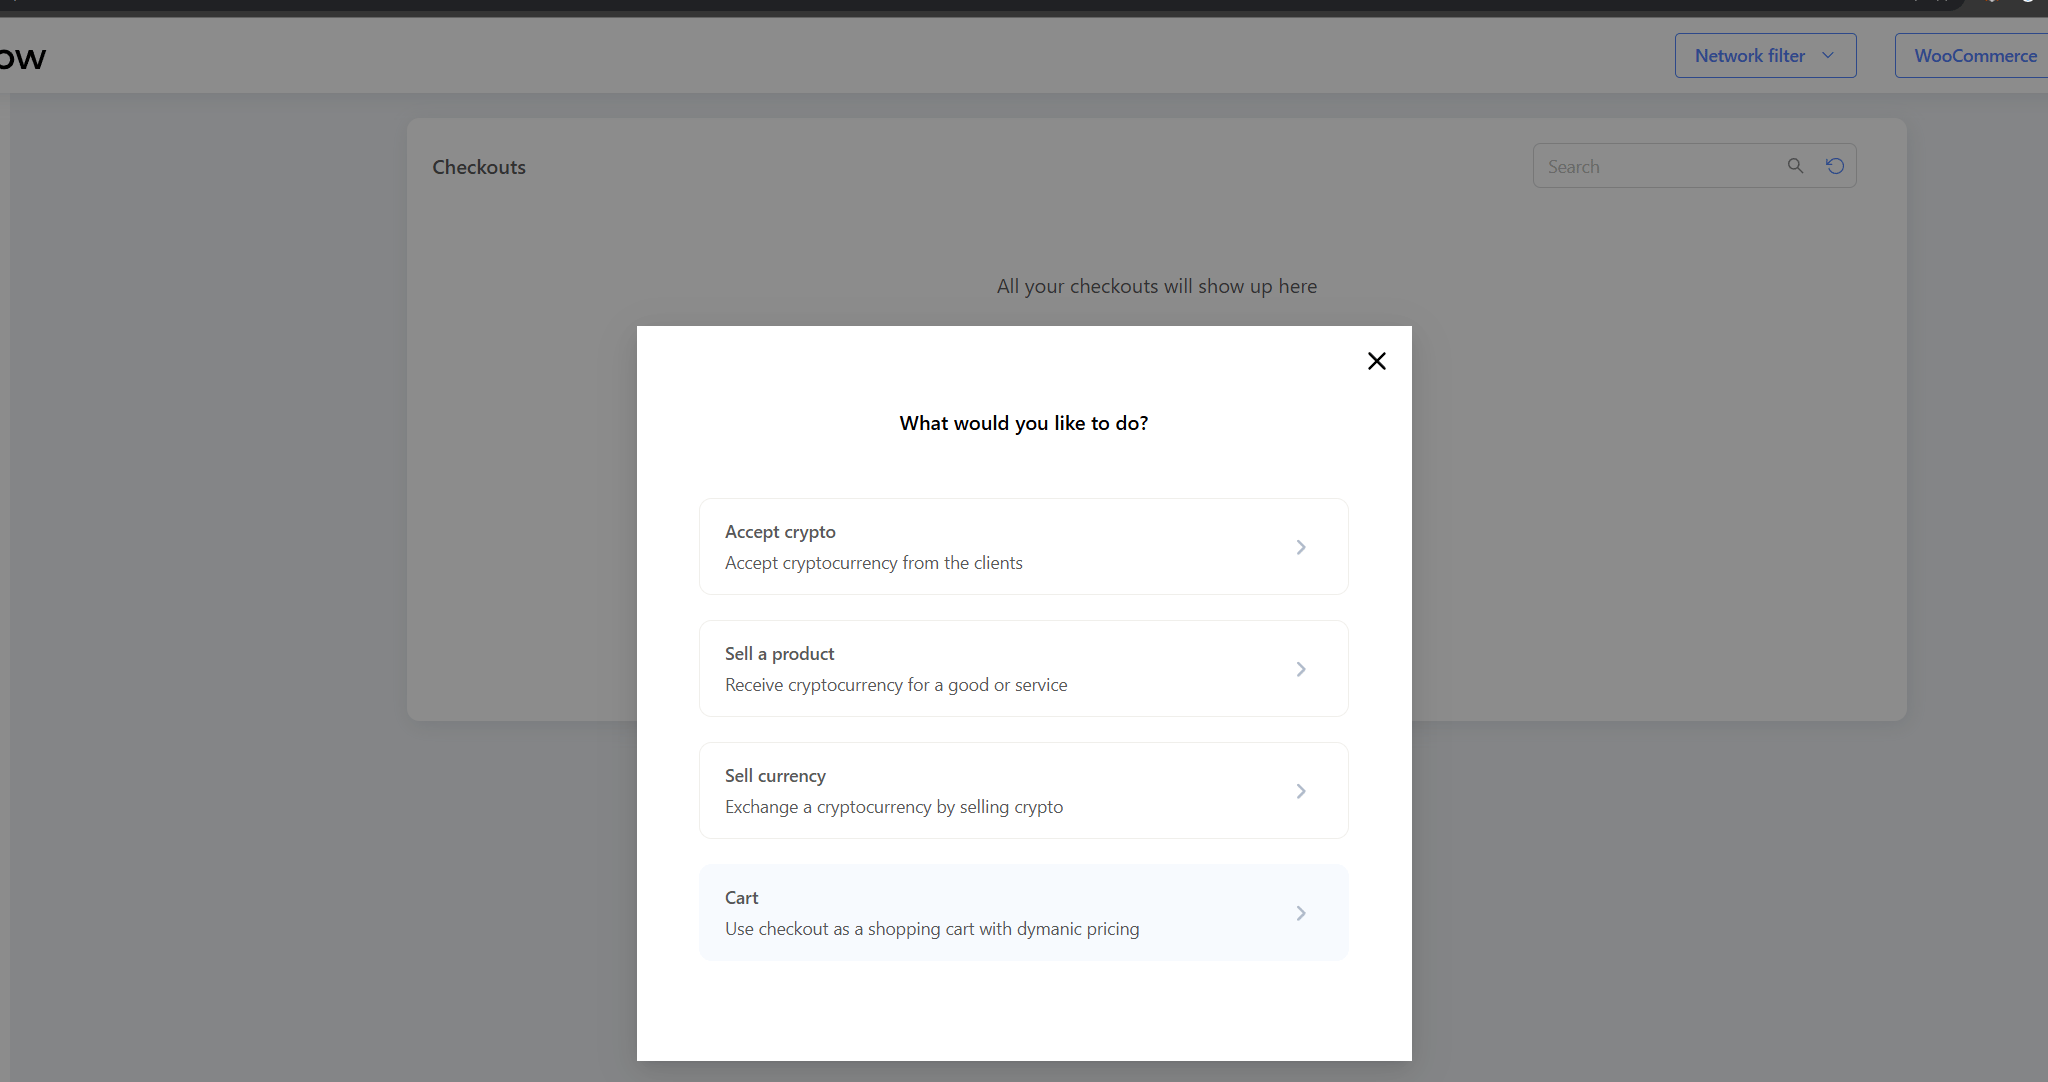
In CryptoNow, go to Payments → Checkouts → Create Checkout and choose Cart. Select the currencies you want to accept.
Choose the Cart checkout type
2
Copy the checkout link
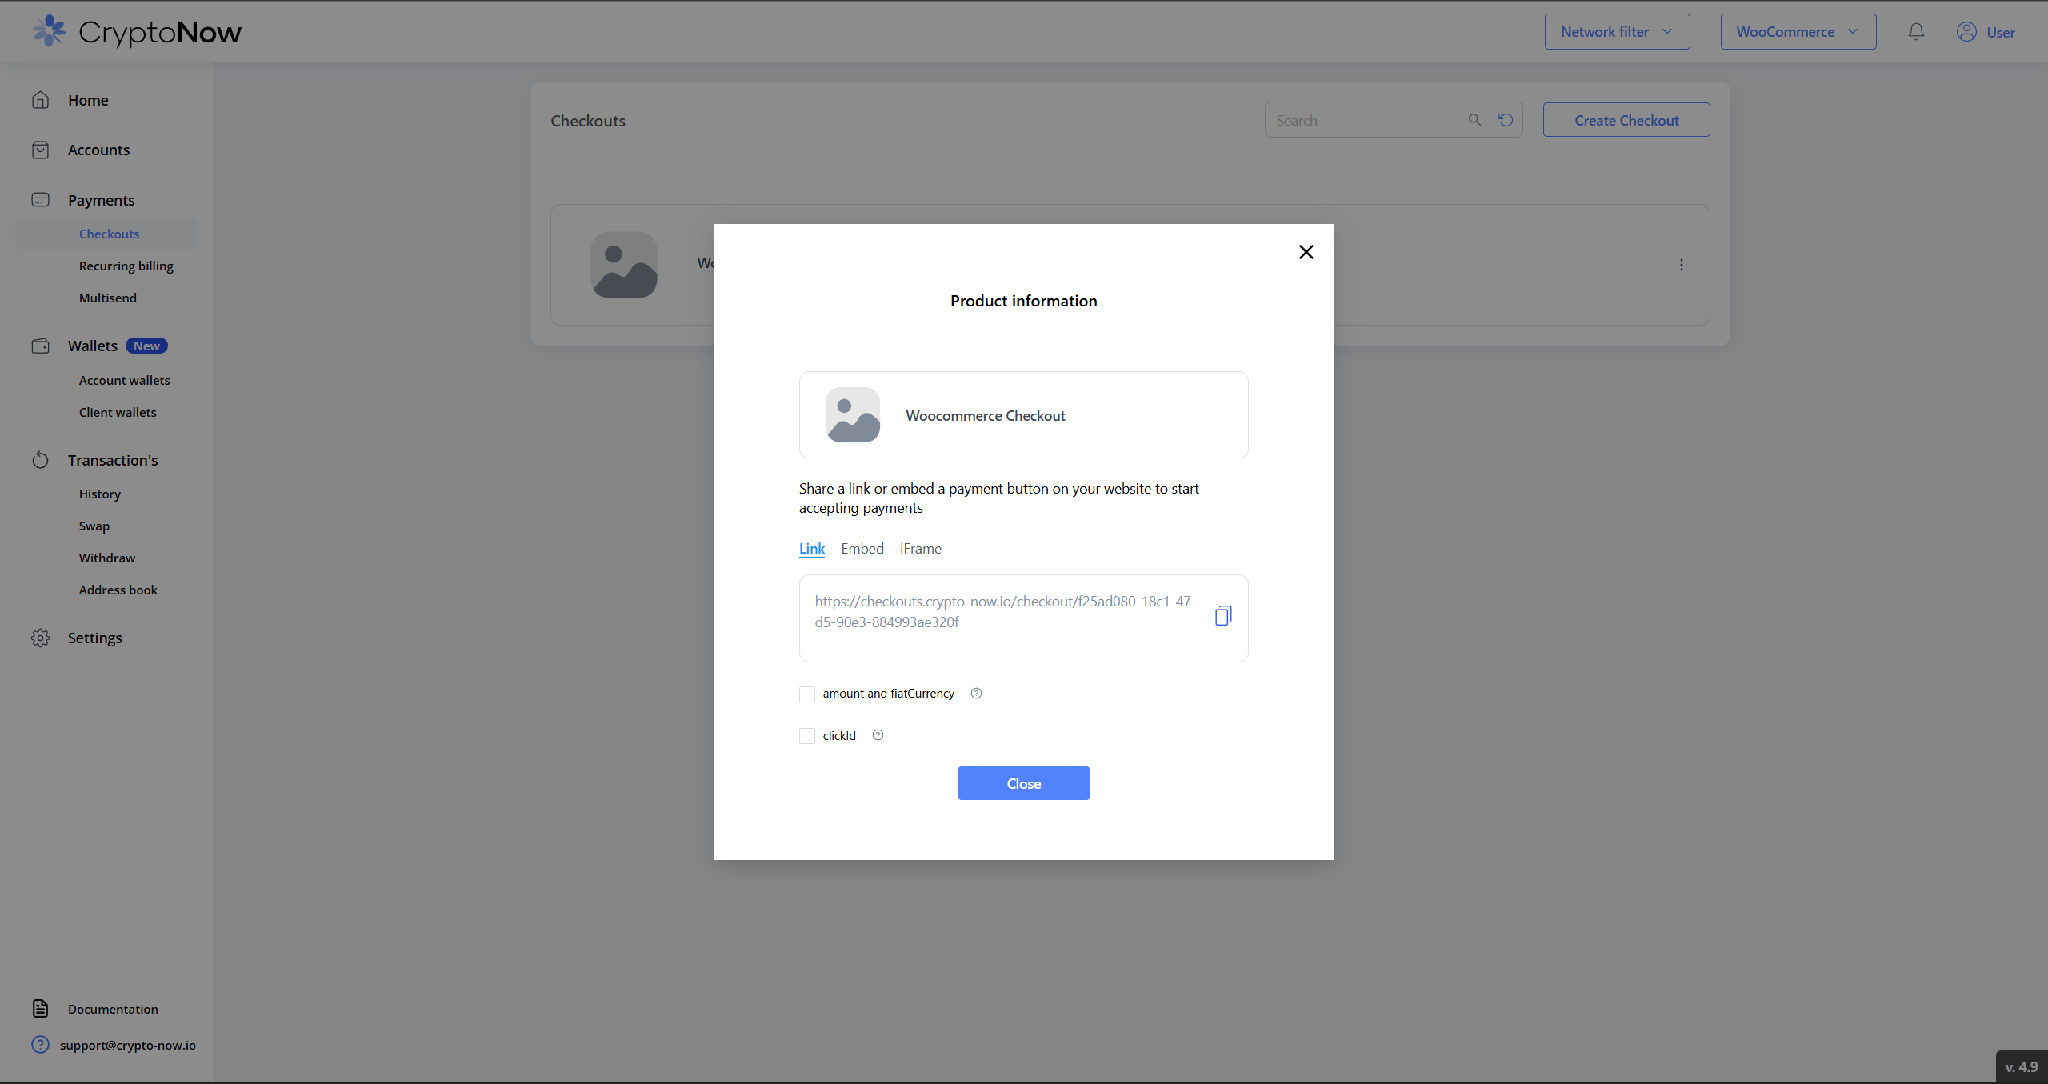
Open the checkout, and from the Link tab copy its URL. You’ll paste this into the plugin in the next step.
Copy the checkout link
The checkout must be the Cart type. Other types don’t accept the per-order amount WooCommerce sends, so the payment total won’t match.
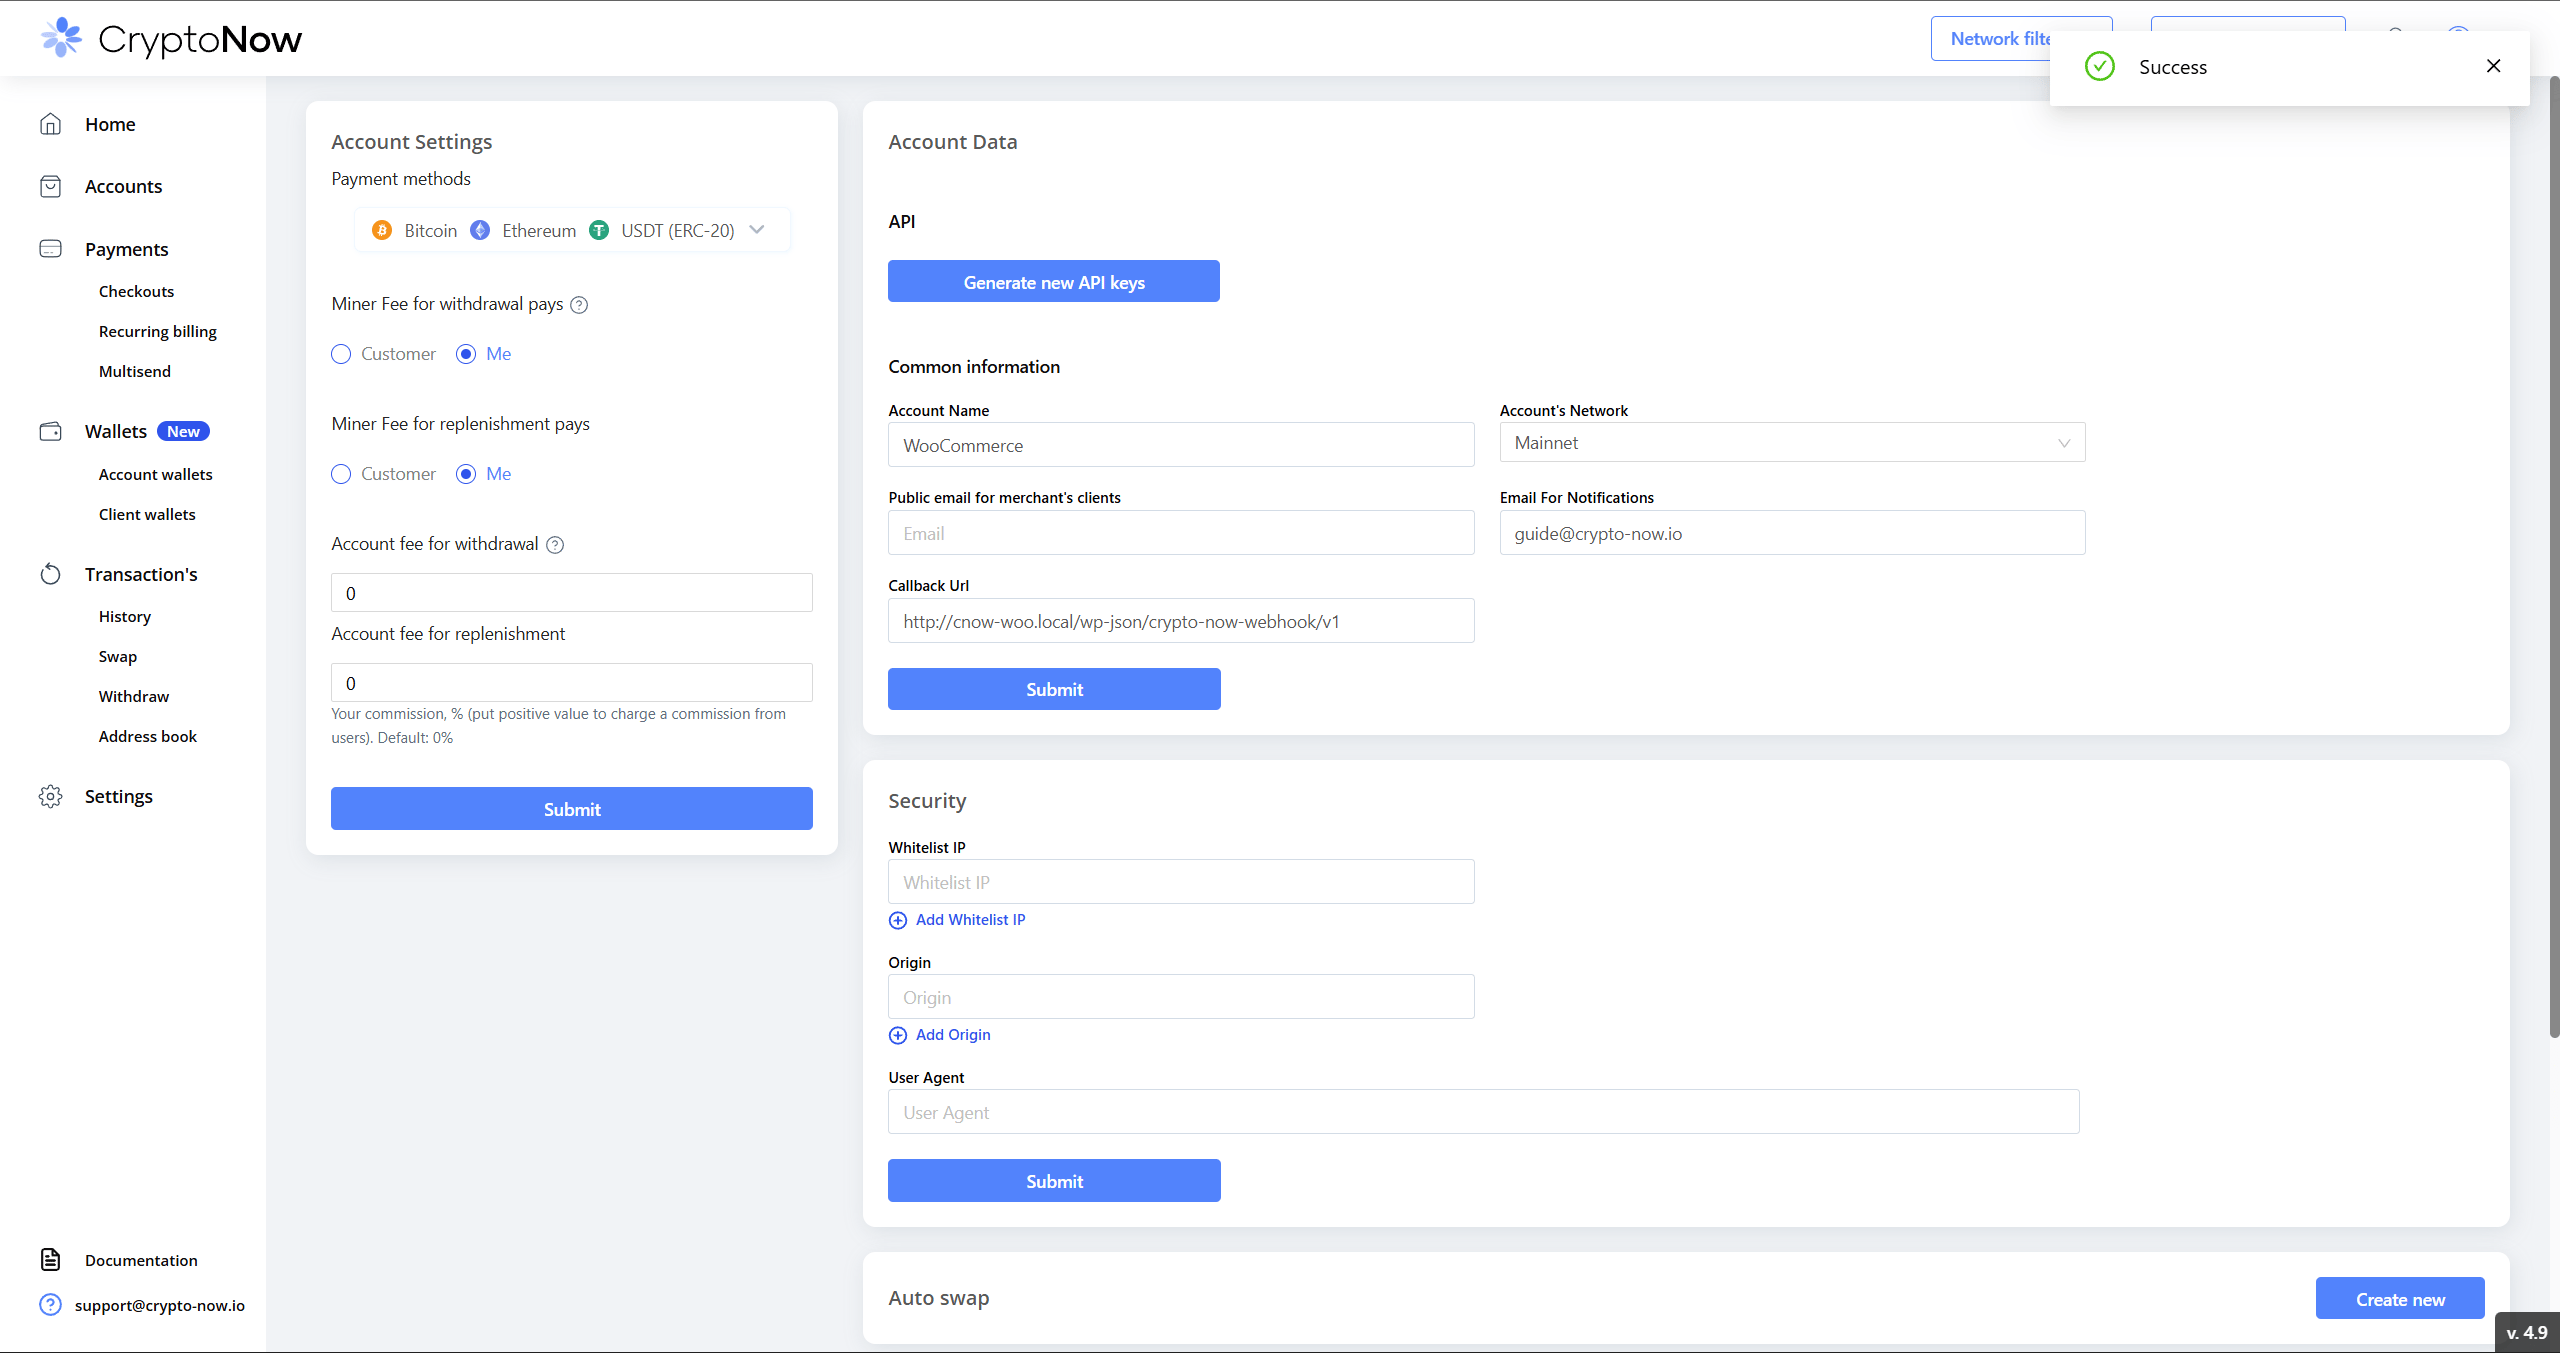
Replace your-store.com with your store’s domain, then Submit.
Setting the callback URL in your CryptoNow account
Your store must be reachable at a public https address for the callback to arrive. A local-only site can’t receive it, so orders would stay in “pending” until confirmed.
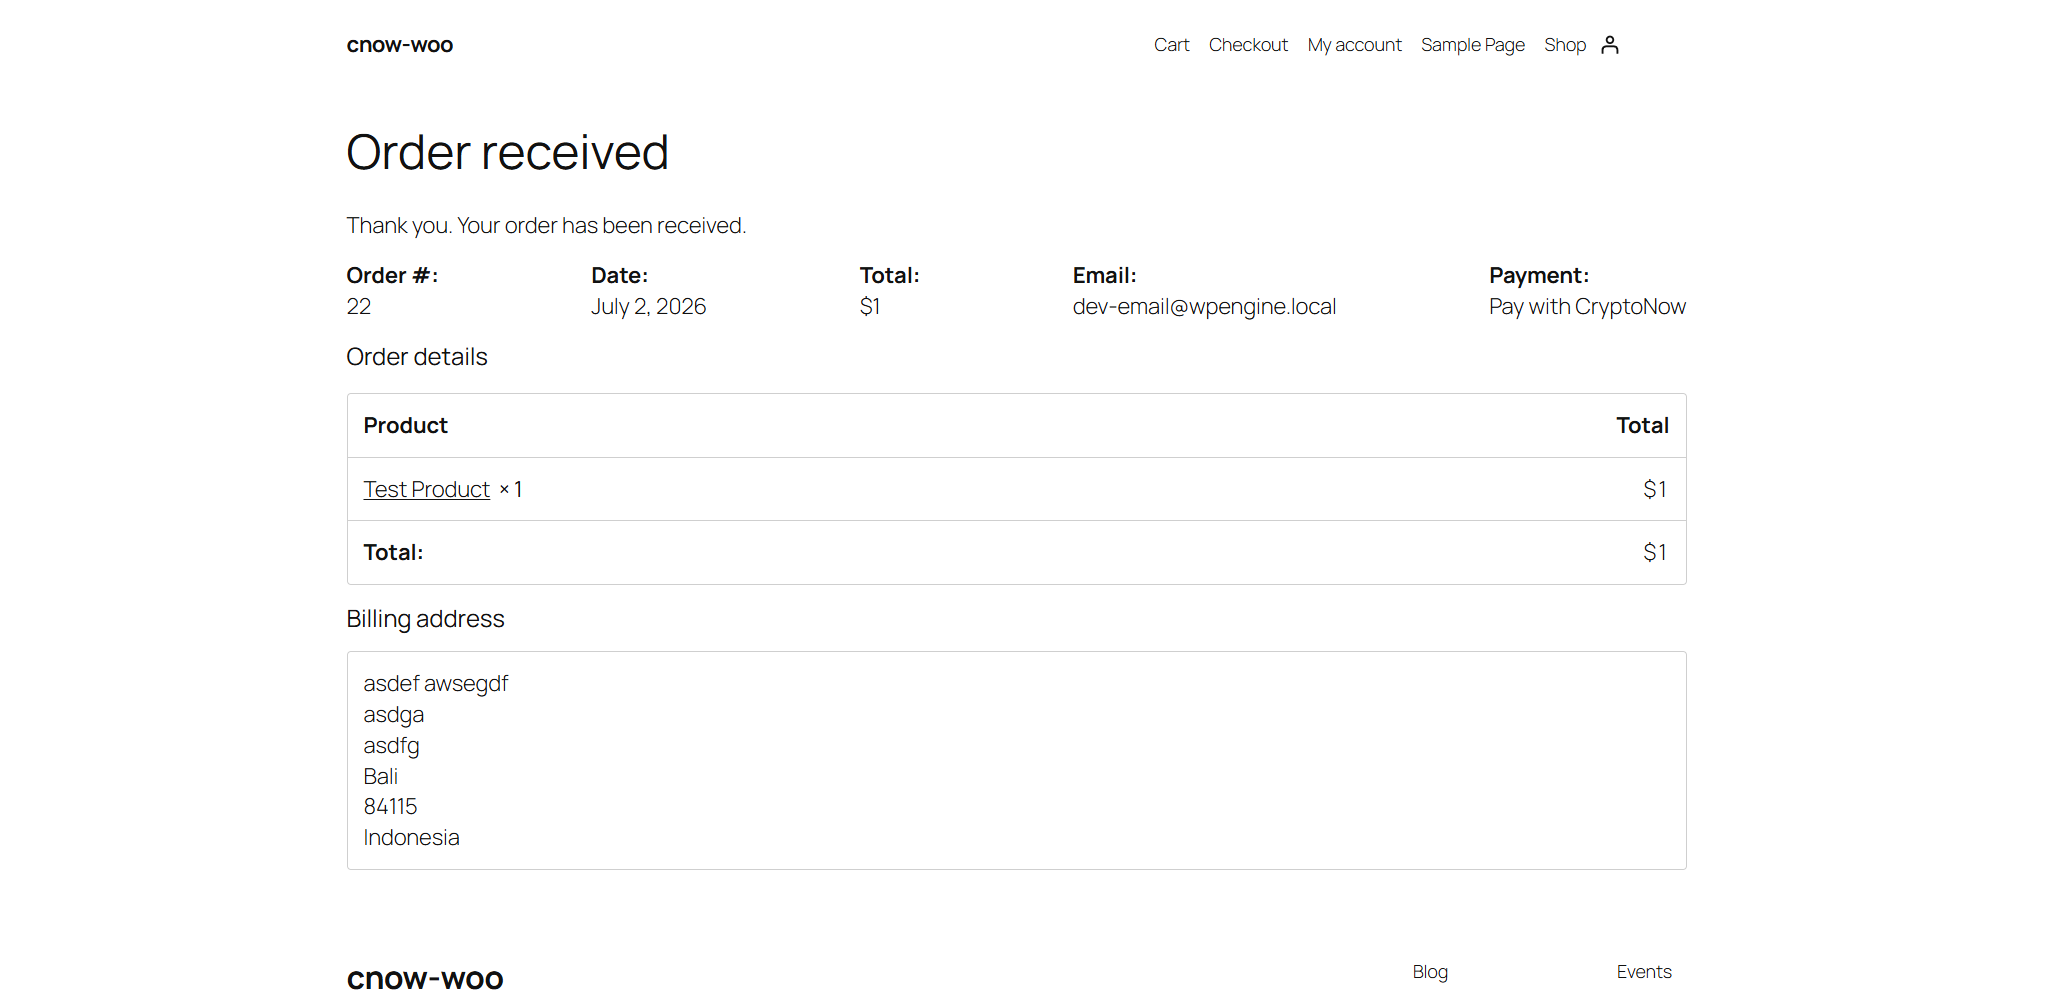
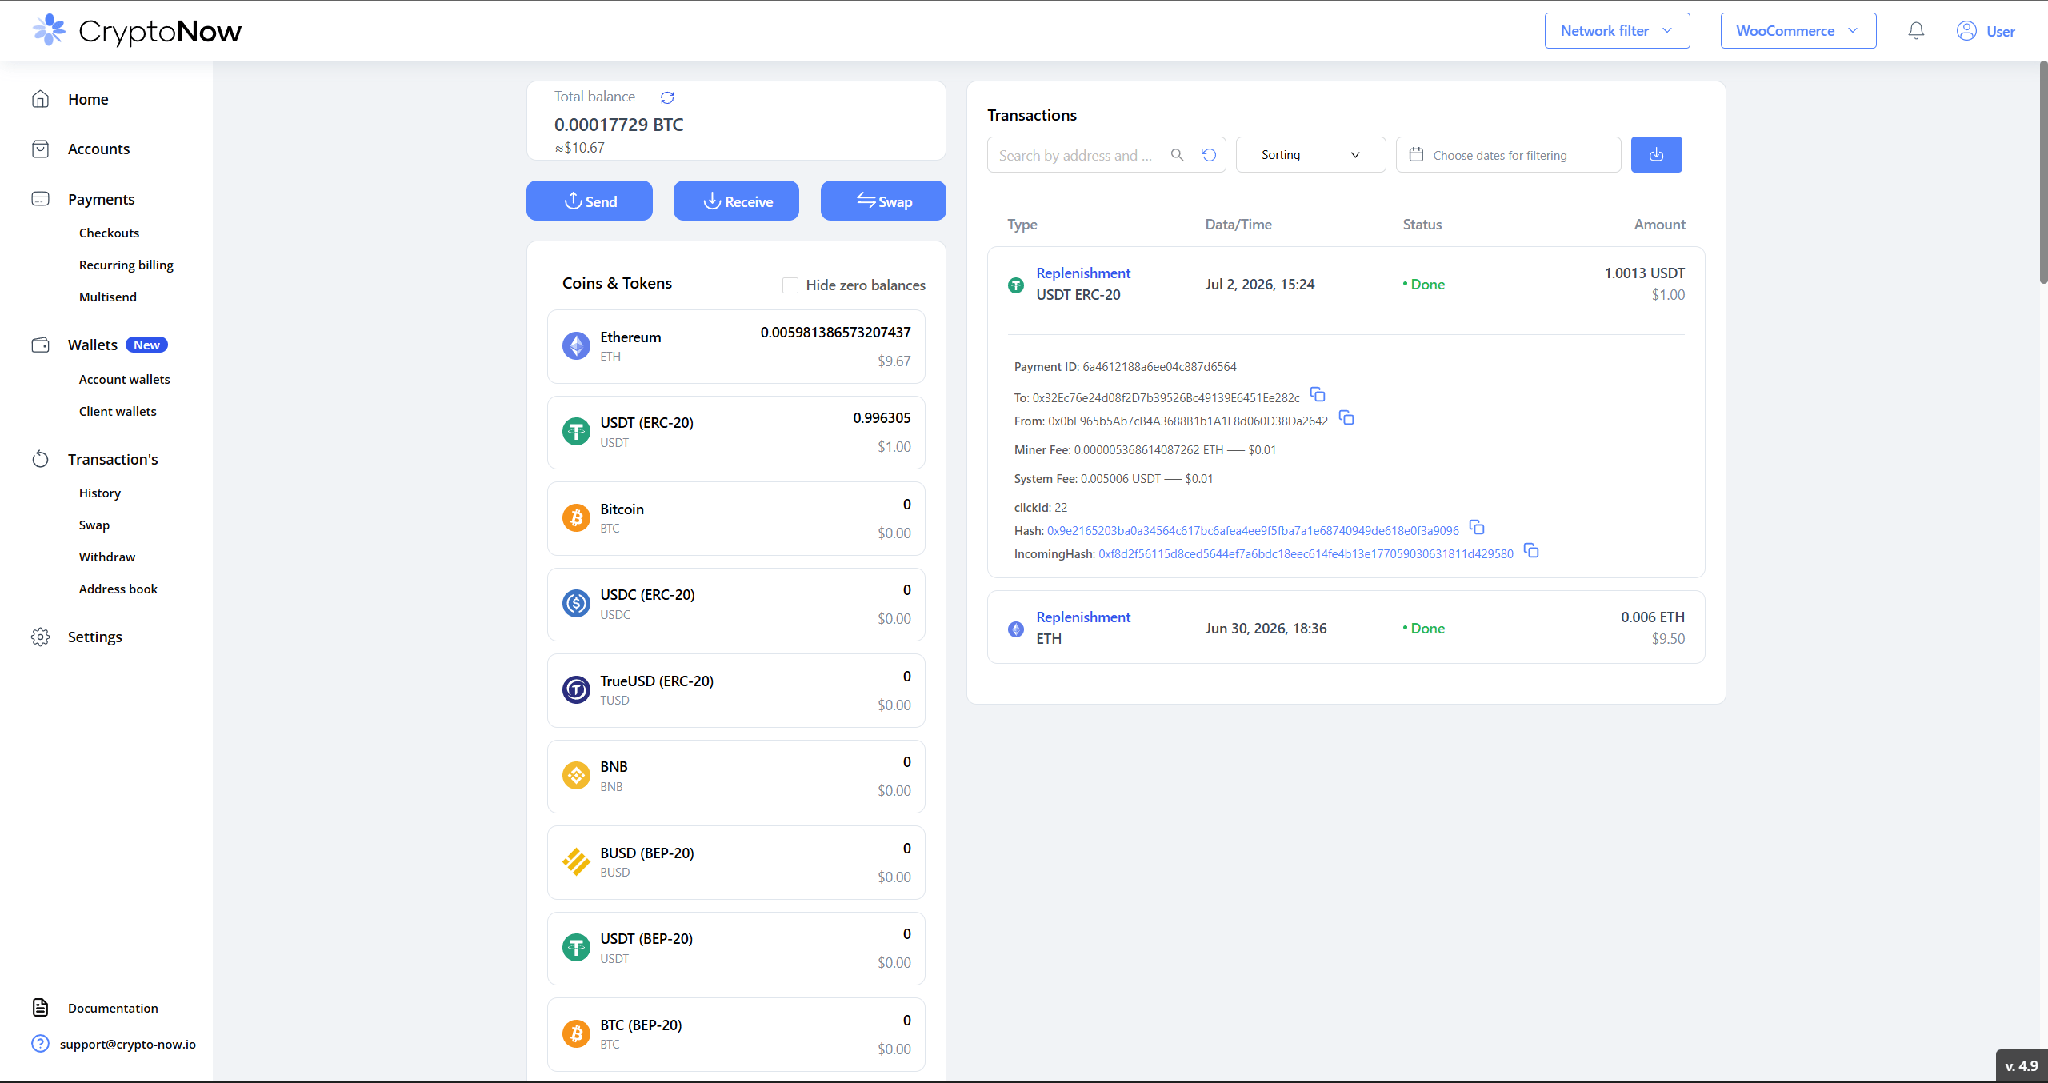
Every payment carries the WooCommerce order number so you can reconcile the two. In CryptoNow, open Transaction’s → History and expand the replenishment — its clickId equals the Order # in WooCommerce.
clickId in CryptoNow matches the WooCommerce order number
The credited amount is net of the 0.5% system fee shown on the replenishment — e.g. a 1.00 USDT payment credits about 0.9950 USDT to your account wallet.
Order stuck on “pending payment”. The callback didn’t arrive. Check that the Callback Url in your CryptoNow account exactly matches https://your-store.com/wp-json/crypto-now-webhook/v1, and that your store is publicly reachable over https.
Order marked “Wrong amount”. The customer sent a different amount than the order total. The payment is safe in your account wallet — review the order and reconcile manually, or refund from your account wallet.
CryptoNow isn’t offered at checkout. Make sure Enabled is ticked and a valid Cart checkout URL is saved in the gateway settings.