Exchange one cryptocurrency for another straight from your account wallets, settled through an exchange partner. Mainnet only.
Swap lets you exchange a currency you hold for one you need, without leaving CryptoNow. Funds move out of one account wallet and the exchanged currency lands back in another.
Swap runs on mainnet only. If you open it on a testnet network, you’ll be prompted to switch before you can continue.
The destination-currency wallet must already exist before you swap. If you don’t have a wallet in the currency you want to receive, create it first under Account wallets.
1
Open Swap and start a new one
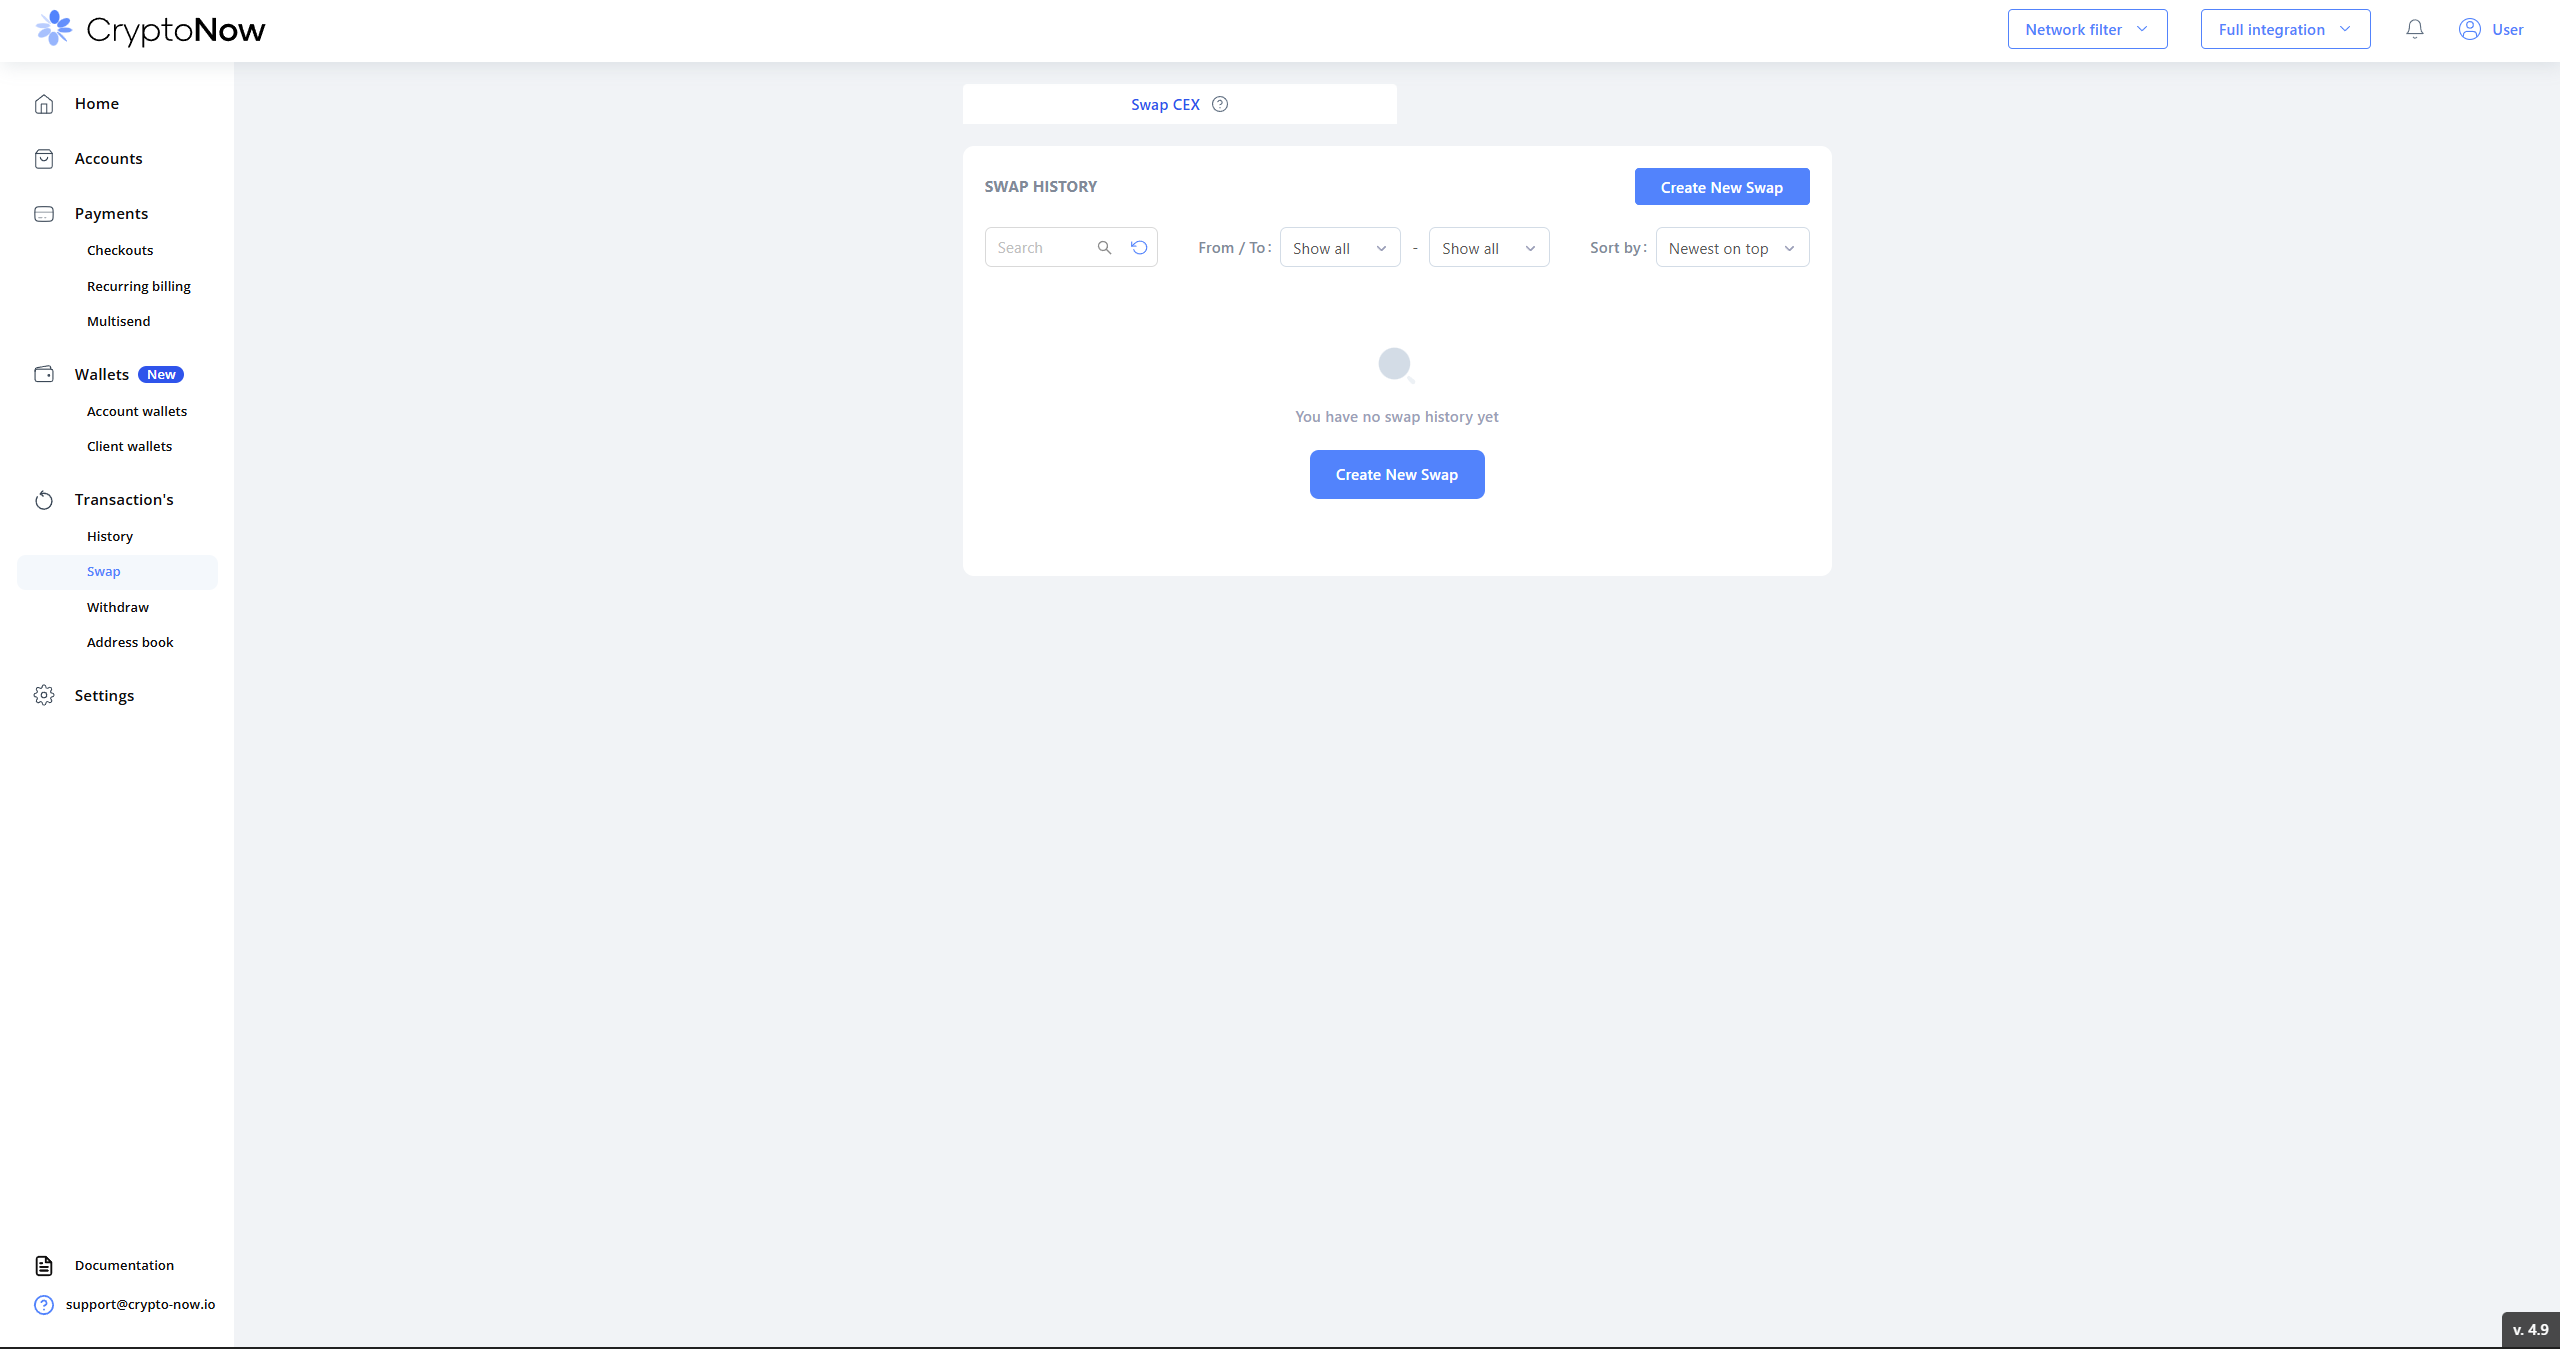
Go to Transaction’s → Swap and select Create New Swap. The first time, your swap history is empty.
Swap history — start with Create New Swap
2
Set what you send and what you get
In YOU SEND, enter the amount and pick the currency to spend. In YOU GET, pick the currency to receive — the estimated amount fills in automatically. MAX fills in the largest amount you can swap from that wallet after fees.
Choose the send currency and the amount
3
Review the cost breakdown
Before you go further, the Total line itemises the full cost: the amount, the network Miner Fee (paid in the source network’s native coin), and the System Fee. The exchange partner’s rate is applied on top when you view offers.
Amount, Miner Fee and System Fee shown before offers
4
View offers and pick an exchange service
Select View offers. Each offer shows the Rate, ETA, and a KYC Risk indicator. Pick one and select Exchange.
Exchange service offer with rate, ETA and KYC risk
5
Check the summary
The summary confirms the exact send and receive amounts, the exchange rate, the Partner, and the rate Type — Fixed (rate locked for a short window) or Floating (final amount can move with the market).
Summary before confirming the swap
6
Confirm with 2FA
Enter the code from your Google Authenticator and select Confirm. If the locked rate expires while you’re confirming, use Update rate and try again.
Confirm the swap with your authenticator code
7
Done
You’ll see a confirmation that the swap was processed.
Swap successful
8
Track it in Transactions
The swap appears in Transaction’s → History, first as Pending, then Done. Expand it to see the Payment ID, addresses, Miner Fee, System Fee, and on-chain hash. The exchanged currency arrives in your destination account wallet as a Replenishment entry.
Swap pending, with full fee and hash detail
Swap done — received currency lands as a Replenishment
On a Floating rate the amount you receive can change between confirmation and settlement. Choose Fixed if you need the quoted amount guaranteed within the partner’s time window.
Worked example. 5 USDT (ERC-20) → ≈0.00311 ETH via sideshift on a fixed rate. The Total line showed a miner fee of ≈0.0000226 ETH and a System Fee of 0.05 USDT; the received ETH landed in the Ethereum account wallet as a Replenishment.